Wallpaper Wallpaper on the Wall, Who's the Fairest of Them All?

I just received the first shipment of wallpaper samples I ordered from Ye Olde Englande (that's what the English themselves call it, yes?) and I'm already adrift in a sea of choices. I was pretty pumped to start taping samples all over the walls until Ike caught wind of game, and let's just say I had to take him on as my assistant. Or else. Kid is either going to be a decorator someday, or he's going to design race cars made of paisley foil wallpaper. Boys are weird. Anyway, let's check out Round One of Wallpaper Sample Throwdown 2012.

Some cutie pie black and white patterns: Feather Fan by Cole and Son and Abigail Edwards' Seascape. You may recall I was pretty set on the seascape print for the nursery, but I'm not loving any of the white white fields in this house -- I feel like the walls need to go dirtier/creamier.

These are superfly powder room options. From left to right: Cole and Son Wisteria, Osborne and Little Summer Palace, Osborne Mara (fabulous with jewel tones). Any could work in there, but I was thinking of Summer Palace. However, the old teal colorway seems to be gone, and I'm still on the fence about this delfty colorway. Maybe too formal?

It's kind of... girly, and girls are weird.

Moving on, look how I am artsy AND fartsy. Embarrassing. Anyway, on the left is Neisha Crosland's Zebra. On the right is Cole and Son's Silk, which looks like a fabulous tufted fabric with this oddly tactile quality due to the layers of ink that sit on the paper surface. It's a really sweet paper. I picked these for the entry way but I think Zebra is too dark and Silk is too light. Bummers, because Silk is the one I had in mind, but like I said -- not loving the whiteyfied look. I did reorder a sample of Zebra in the stone/beige colorway. Maybe maybe.

I like these two better for the hallway. The left is Cole and Son Malabar and the right is Cole and Son Malachite. Bonus points to C&S for making non woven papers that are supremely easy for even a village idiot to hang (see my post here). Both are popular papers, but I think the tone on tone colors give them some new life. I'm not digging anything overtly graphic for the entry since you see it from both the dark teal room and the living room -- midtone neutral with a little something something is the way to go. I'm still not so sure about the metallic aspect, as I've actually been trying to cool it on the bling blung front (yeah, who am I?), but I like the way the patterns appear and disappear.

And then there's Thibaut's Cheetah. I don't know what I had planned to do with this paper... maybe powder room? Maybe upstairs hallway? Maybe paste it to my face? It's pretty amazing.

It's also totally ridiculous. I'm trying to avoid anything over the top, but... it's talking to me. I'm just not sure what it's saying.

Stay tuned for Round Two of Wallpaper Sample Throwdown 2012, which should be arriving any day now.

In the meantime, please tell me which ones I should choose, and which I should burn. Thanks.

Finally, A How To: How to Make a Tapestry Headboard on the Cheap

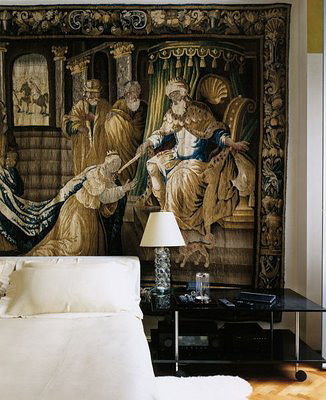
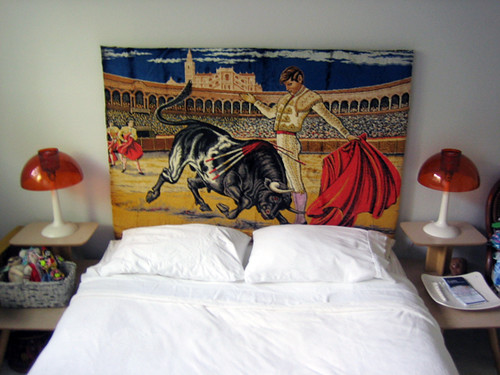
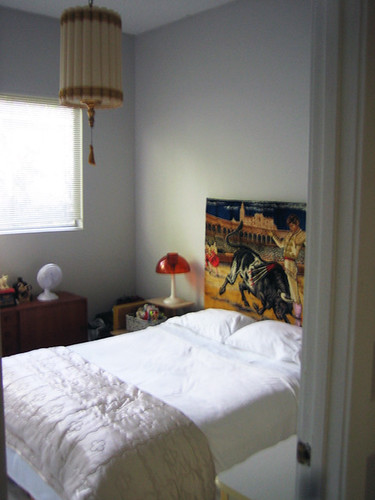
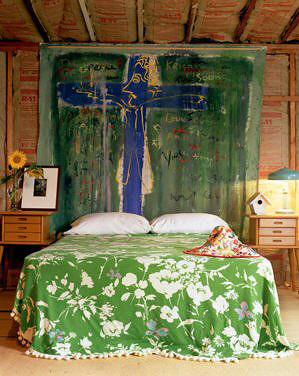
Several months ago I saw the most insane headboard somewhere on the world wide web.  This evening my ego as a savvy internet searcher has taken a major blow, because, alas, I CAN NOT FIND THE DAMN PICTURE  TO SAVE MY LIFE.  But trust me when I tell you that it was phenomenal:  a big ole tacky tapestry depicting the Last Supper had been repurposed as a king-sized headboard.  While I didn't have a picture of the beast, it's image shined bright as the inspiration for the, ahem, How-To that I will show you kids today. Look!  Our fist How-To!  How sweet.  Since I don't have the original photo, here's a nice opening shot with another tapestry behind a bed (unfortunately, not as a headboard)

If you would like to have a tapestry behind your bed, but you want to crank it up a few notches, I suggest you follow these instructions: 

1. Scour the local thrift stores for a tapestry large and ferocious enough to do the trick (make sure it's at least a couple inches wider than the bed).  

I found some great tapestries on ebay here, here and here

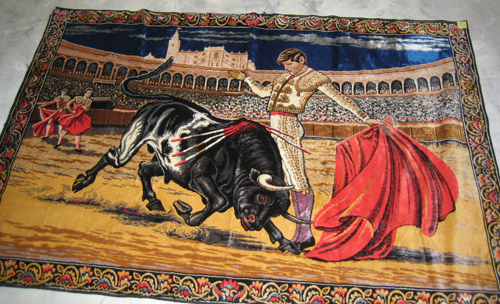
Because I'm cheap and I love a bargain, I will brag that I got this 66" wide tapestry for only $19.  I'm better at finding deals than I am at taking pictures, so I apologize for the craptastic photos.

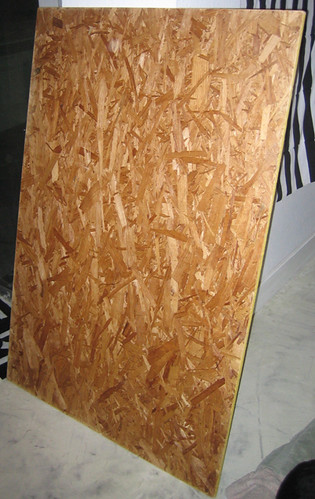
2.  Get yourself some plywood.  You'll want it to be the same width as the bed and about 8 inches shorter than your tapestry. Make sure it is thick enough to stay flat against the wall, but don't bother blowing your family's savings.  This $9 board did just fine

BONUS:  Have the dudes at the hardware store cut it to size for ya, it's free and saves you loads of time.

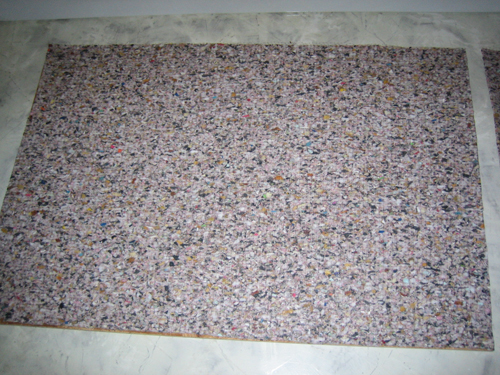
3.  Here's where the savings start rolling in:  Buy a small roll of carpet padding.  Every other site on the planet will tell you to use foam from the craft store but not here at Design Crisis, ut-uh, no way.  Were all about saving the Benjamins and this little pointer will cut your crafting costs by at least 75%.  Be sure there is enough square footage on the roll to cover your board twice.  

4.  Cut out 2 pieces of carpet foam the exact same size as your headboard.  If your roll won't make 2 exact pieces, you can use remnants from the first cut to cover the board a second time.

5.    Get yourself some spray adhesive.  WARNING:  Do not buy your adhesive at the craft store, it literally costs 4 times as much as the spray adhesive at the hardware store and isn't as strong.   

6.  Spray a 1 foot wide section of the wood, starting at the edge, fold your foam over and smooth it on to the board.  Work your way across the wood in 1 foot wide sections.  

7. Repeat for the second layer, spraying your adhesive onto the first layer of foam in 1 foot wide sections

8.  Have a sip of whatever cocktail you are enjoying

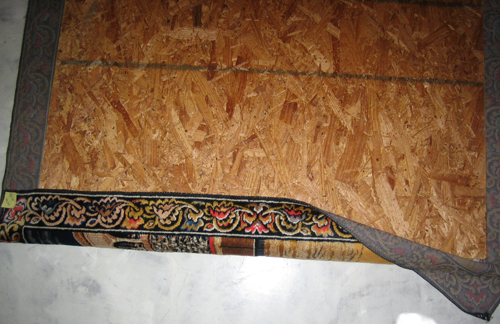
9.  I think I missed a photo or two during my craft session, but I think you can see what's happening here:  lay your tapestry face-down on the floor with the board face-down on top.  BE SURE TO CENTER IT

10.  Fold each edge over and staple one time on the center of each side, pull the fabric a bit as you go to make sure it's taught.

11.  Have a stapler party and finish stapling all the sides, working your way from the center out

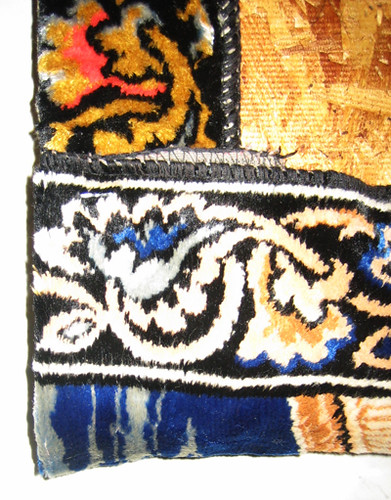
12.  Be sure to fold your corners real pretty like.

13.  Find a boy to put some triangle hanger thingies on the back - 2 will work (make sure the screws are no longer than the thickness of your wood)

- sorry about asking for a boy to do it, I can weld, change the tires of my car and clean up cat vomit, but I don't use wood working tools - 

14. Hang, finish your cocktail, and enjoy

15. Continue enjoying while figuring out what to do with the rest of the room

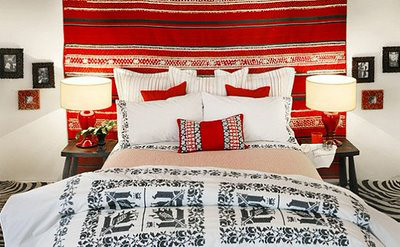
This little project took about an hour and cost roughly $60.  Not too shabby.  Here are some other tapestry headboards for your viewing pleasure:

both images via vintage and chic

And I'd like to thank our friend, Andrea, for a heads up to these quaint little tapestry pieces:

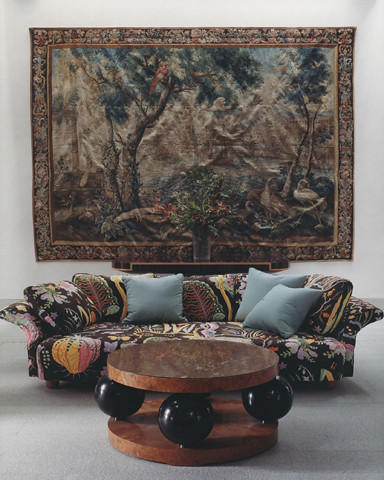
Frederique Morre creates custom-covered home goods using recycled tapestries. What do you think, should I have 12 of those sofas in the room with my headboard?  Too much?

And finally, one last tapestry-over-something shot:

Suzy Hoodless

If I remember correctly, one of the DC New Year's resolutions was to start posting how-tos, I can't believe we actually did it but look, now you think we're good and honest girls.  With pretty headboards.