Several months ago I saw the most insane headboard somewhere on the world wide web. This evening my ego as a savvy internet searcher has taken a major blow, because, alas, I CAN NOT FIND THE DAMN PICTURE TO SAVE MY LIFE. But trust me when I tell you that it was phenomenal: a big ole tacky tapestry depicting the Last Supper had been repurposed as a king-sized headboard. While I didn't have a picture of the beast, it's image shined bright as the inspiration for the, ahem, How-To that I will show you kids today. Look! Our fist How-To! How sweet. Since I don't have the original photo, here's a nice opening shot with another tapestry behind a bed (unfortunately, not as a headboard)
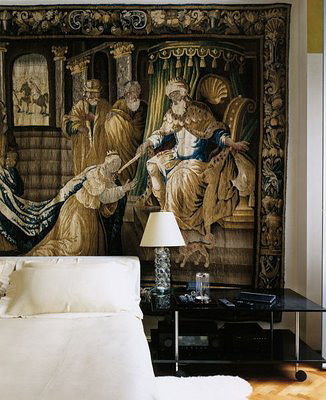
If you would like to have a tapestry behind your bed, but you want to crank it up a few notches, I suggest you follow these instructions:

1. Scour the local thrift stores for a tapestry large and ferocious enough to do the trick (make sure it's at least a couple inches wider than the bed).
I found some great tapestries on ebay here, here and here
Because I'm cheap and I love a bargain, I will brag that I got this 66" wide tapestry for only $19. I'm better at finding deals than I am at taking pictures, so I apologize for the craptastic photos.
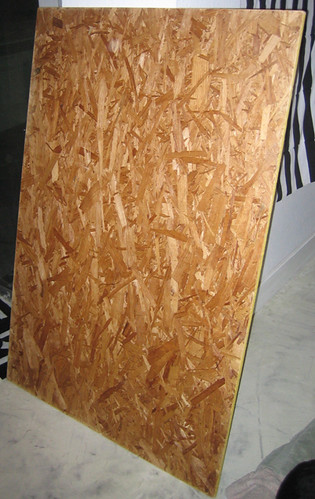
2. Get yourself some plywood. You'll want it to be the same width as the bed and about 8 inches shorter than your tapestry. Make sure it is thick enough to stay flat against the wall, but don't bother blowing your family's savings. This $9 board did just fine
BONUS: Have the dudes at the hardware store cut it to size for ya, it's free and saves you loads of time.
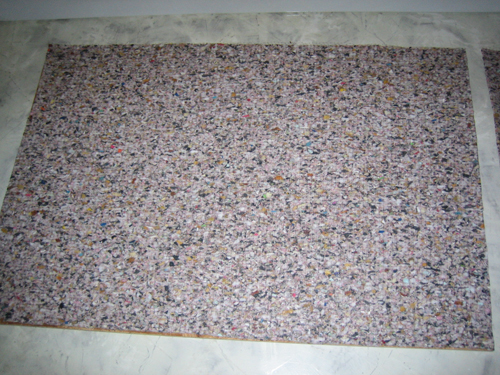
3. Here's where the savings start rolling in: Buy a small roll of carpet padding. Every other site on the planet will tell you to use foam from the craft store but not here at Design Crisis, ut-uh, no way. Were all about saving the Benjamins and this little pointer will cut your crafting costs by at least 75%. Be sure there is enough square footage on the roll to cover your board twice.
4. Cut out 2 pieces of carpet foam the exact same size as your headboard. If your roll won't make 2 exact pieces, you can use remnants from the first cut to cover the board a second time.

5. Get yourself some spray adhesive. WARNING: Do not buy your adhesive at the craft store, it literally costs 4 times as much as the spray adhesive at the hardware store and isn't as strong.
6. Spray a 1 foot wide section of the wood, starting at the edge, fold your foam over and smooth it on to the board. Work your way across the wood in 1 foot wide sections.
7. Repeat for the second layer, spraying your adhesive onto the first layer of foam in 1 foot wide sections
8. Have a sip of whatever cocktail you are enjoying
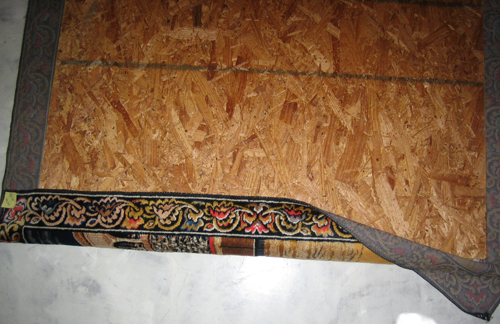
9. I think I missed a photo or two during my craft session, but I think you can see what's happening here: lay your tapestry face-down on the floor with the board face-down on top. BE SURE TO CENTER IT
10. Fold each edge over and staple one time on the center of each side, pull the fabric a bit as you go to make sure it's taught.
11. Have a stapler party and finish stapling all the sides, working your way from the center out
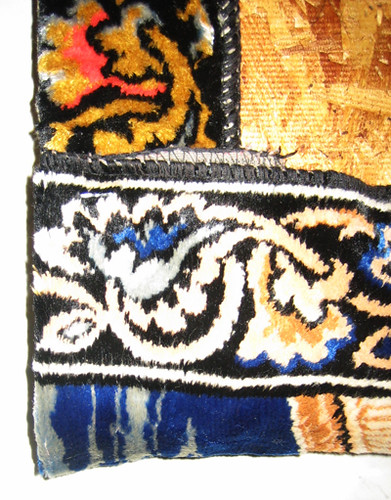
12. Be sure to fold your corners real pretty like.
13. Find a boy to put some triangle hanger thingies on the back - 2 will work (make sure the screws are no longer than the thickness of your wood)
- sorry about asking for a boy to do it, I can weld, change the tires of my car and clean up cat vomit, but I don't use wood working tools -
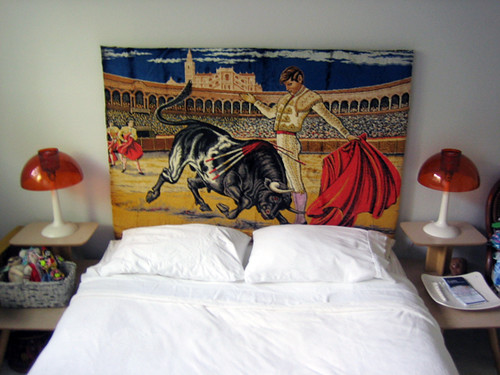
14. Hang, finish your cocktail, and enjoy
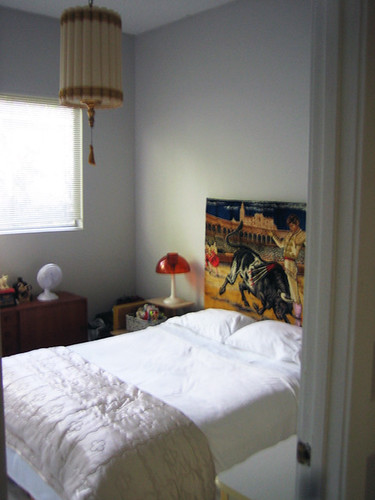
15. Continue enjoying while figuring out what to do with the rest of the room
This little project took about an hour and cost roughly $60. Not too shabby. Here are some other tapestry headboards for your viewing pleasure:
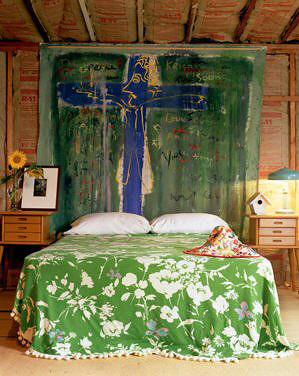
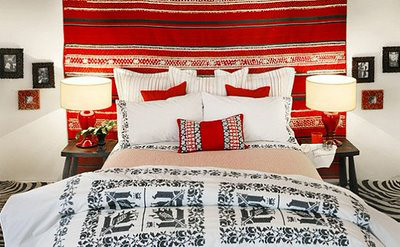
both images via vintage and chic
And I'd like to thank our friend, Andrea, for a heads up to these quaint little tapestry pieces:

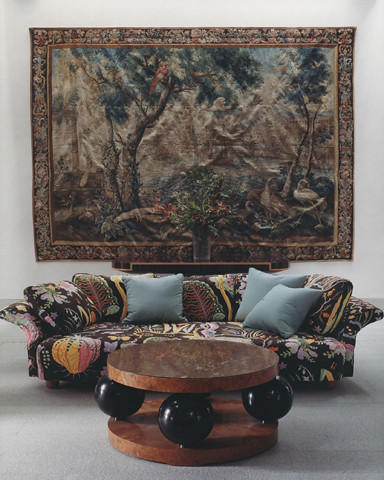
Frederique Morre creates custom-covered home goods using recycled tapestries. What do you think, should I have 12 of those sofas in the room with my headboard? Too much?
And finally, one last tapestry-over-something shot:
If I remember correctly, one of the DC New Year's resolutions was to start posting how-tos, I can't believe we actually did it but look, now you think we're good and honest girls. With pretty headboards.