Lists are lazy, but it's Monday morning and I have a real job now. Gone are the days when I could write novellas about redecorating David Bowie's Labyrinth. I may be busy making other people's spaces look pretty, but I still have a few tricks I can share to help your spaces look better too. On the internet. Where it counts.
Let's do this.
1) Back up -- with your camera.
Vignettes (tight shots/detail shots) are easy to photograph because they don't require control over the entire room, but often there is not enough visual information to have narrative or emotional value.
Magazine editors generally want an overview shot that shows most of the room and establishes a full setting to reference when they tell their story of the space.
And pinterest loves a classic vertical shot that shows about 1/3 of the room, highlighting its most iconic features.
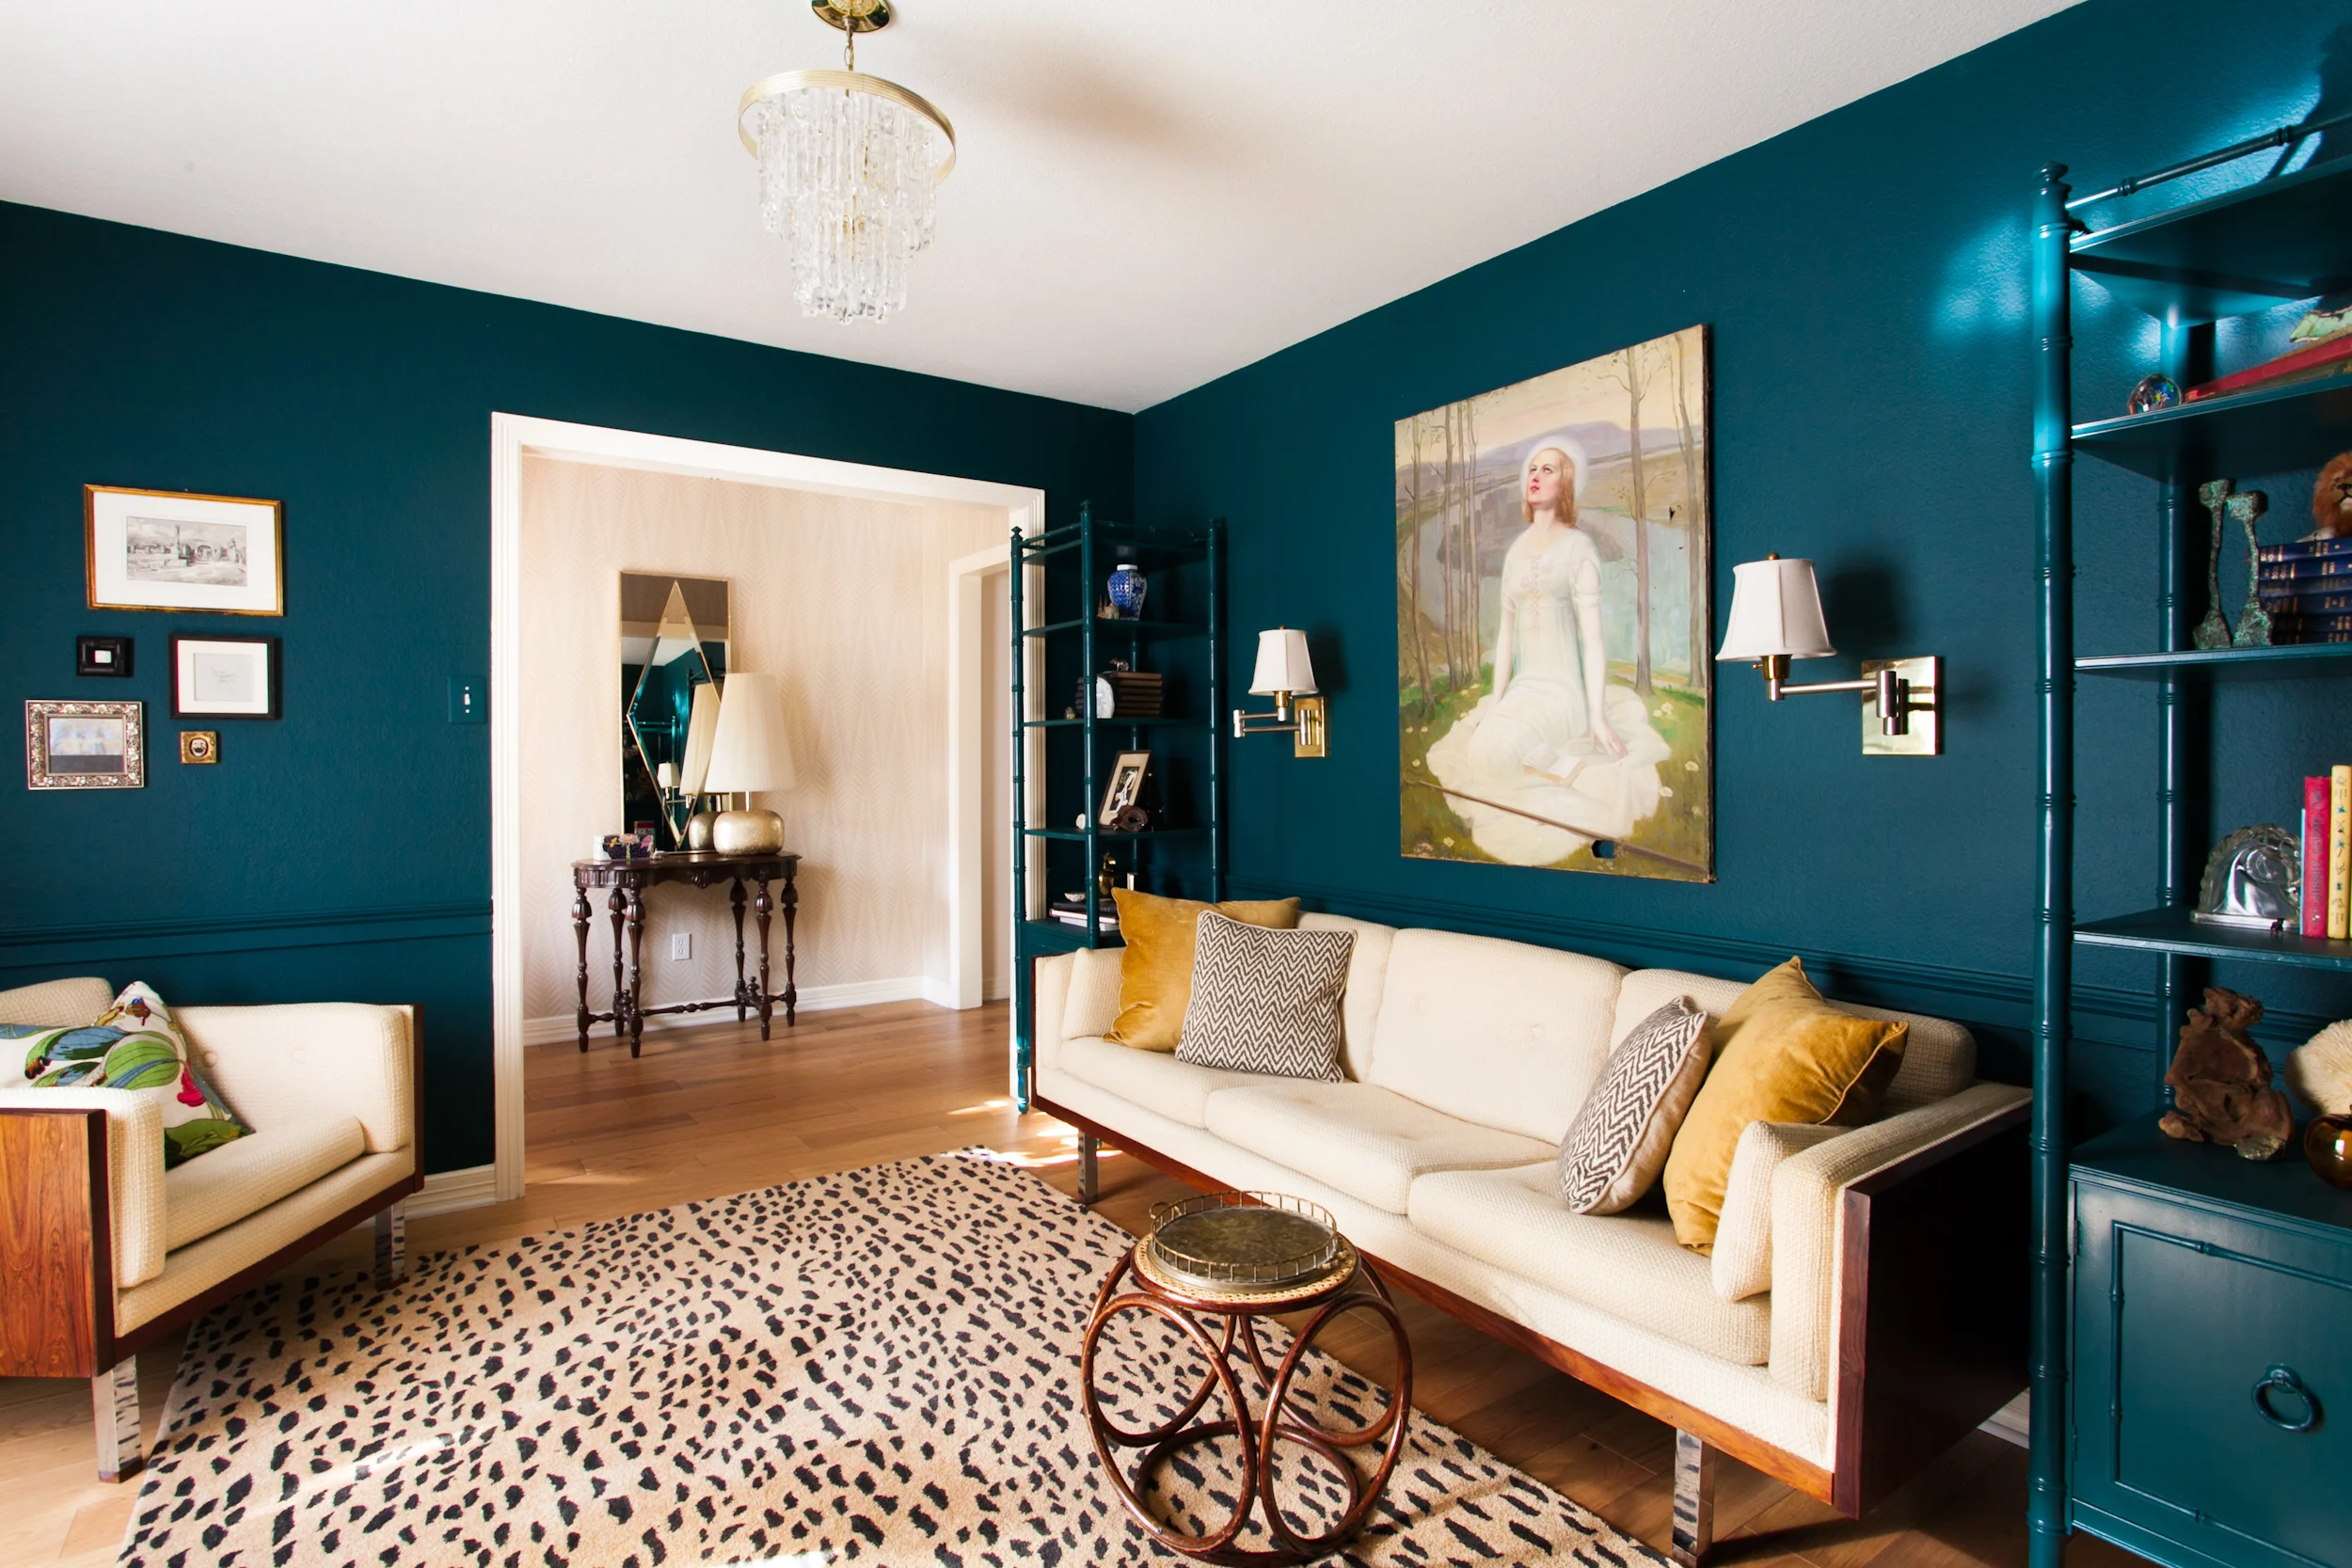
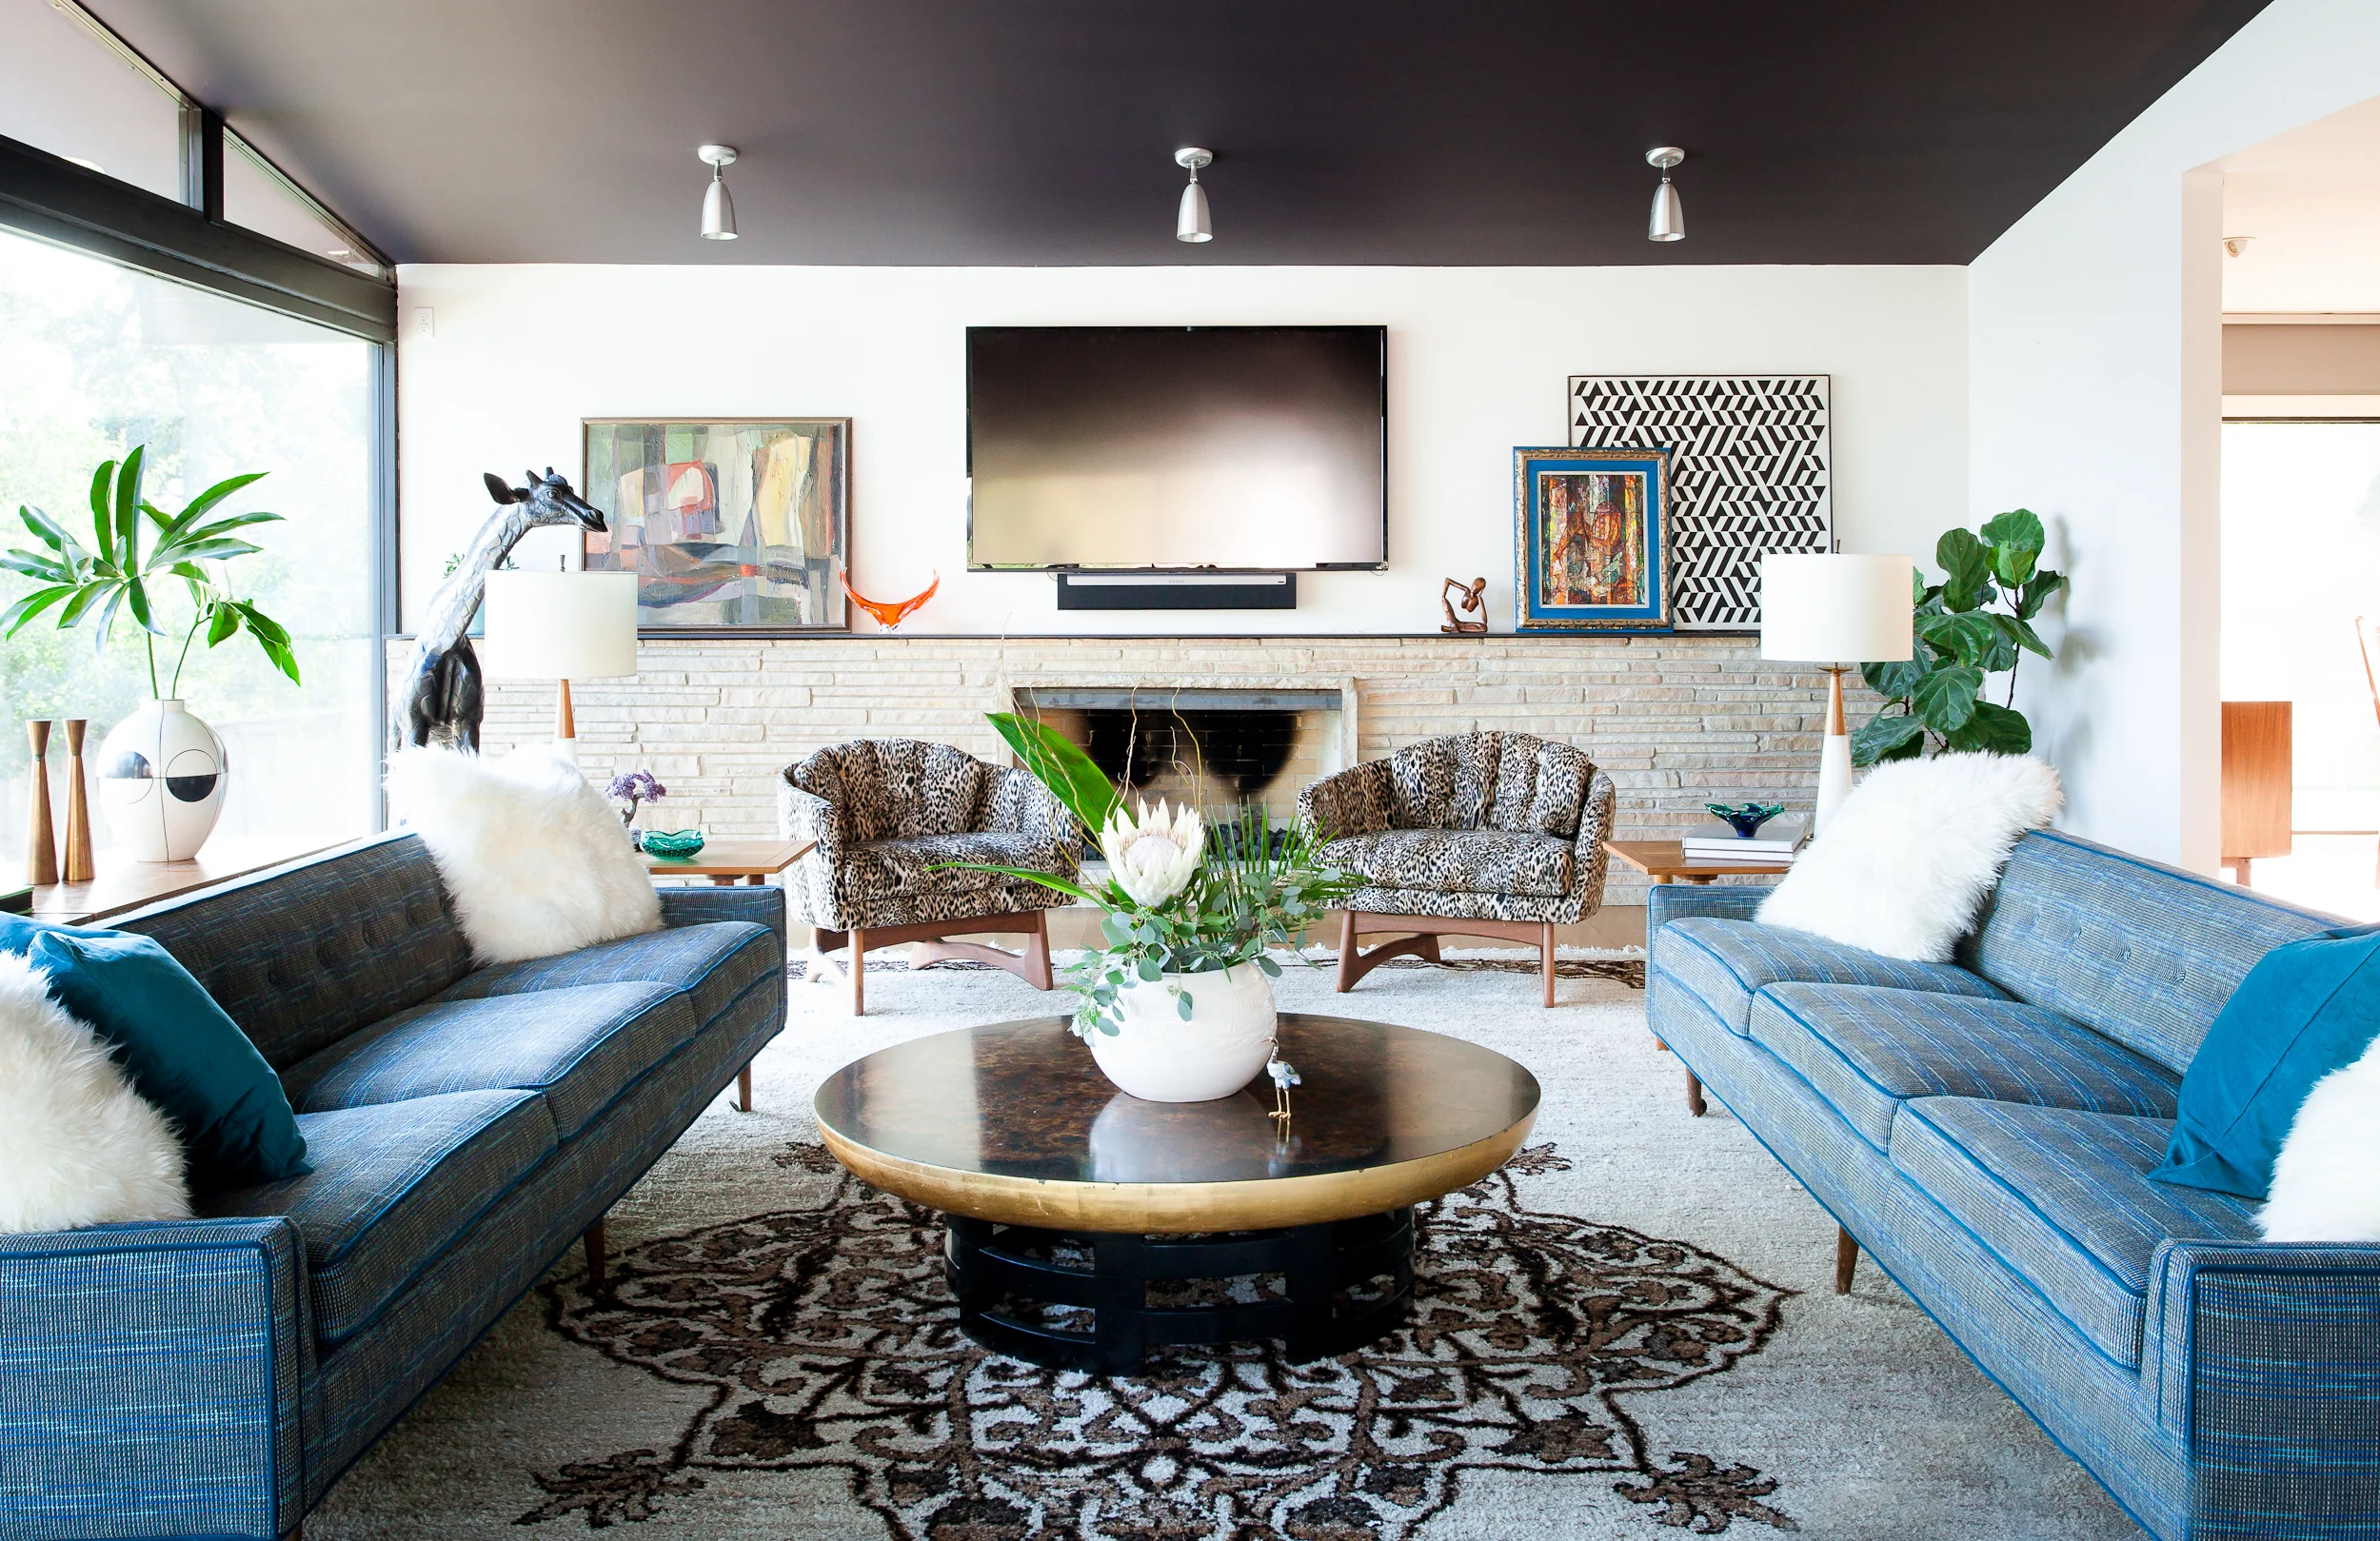
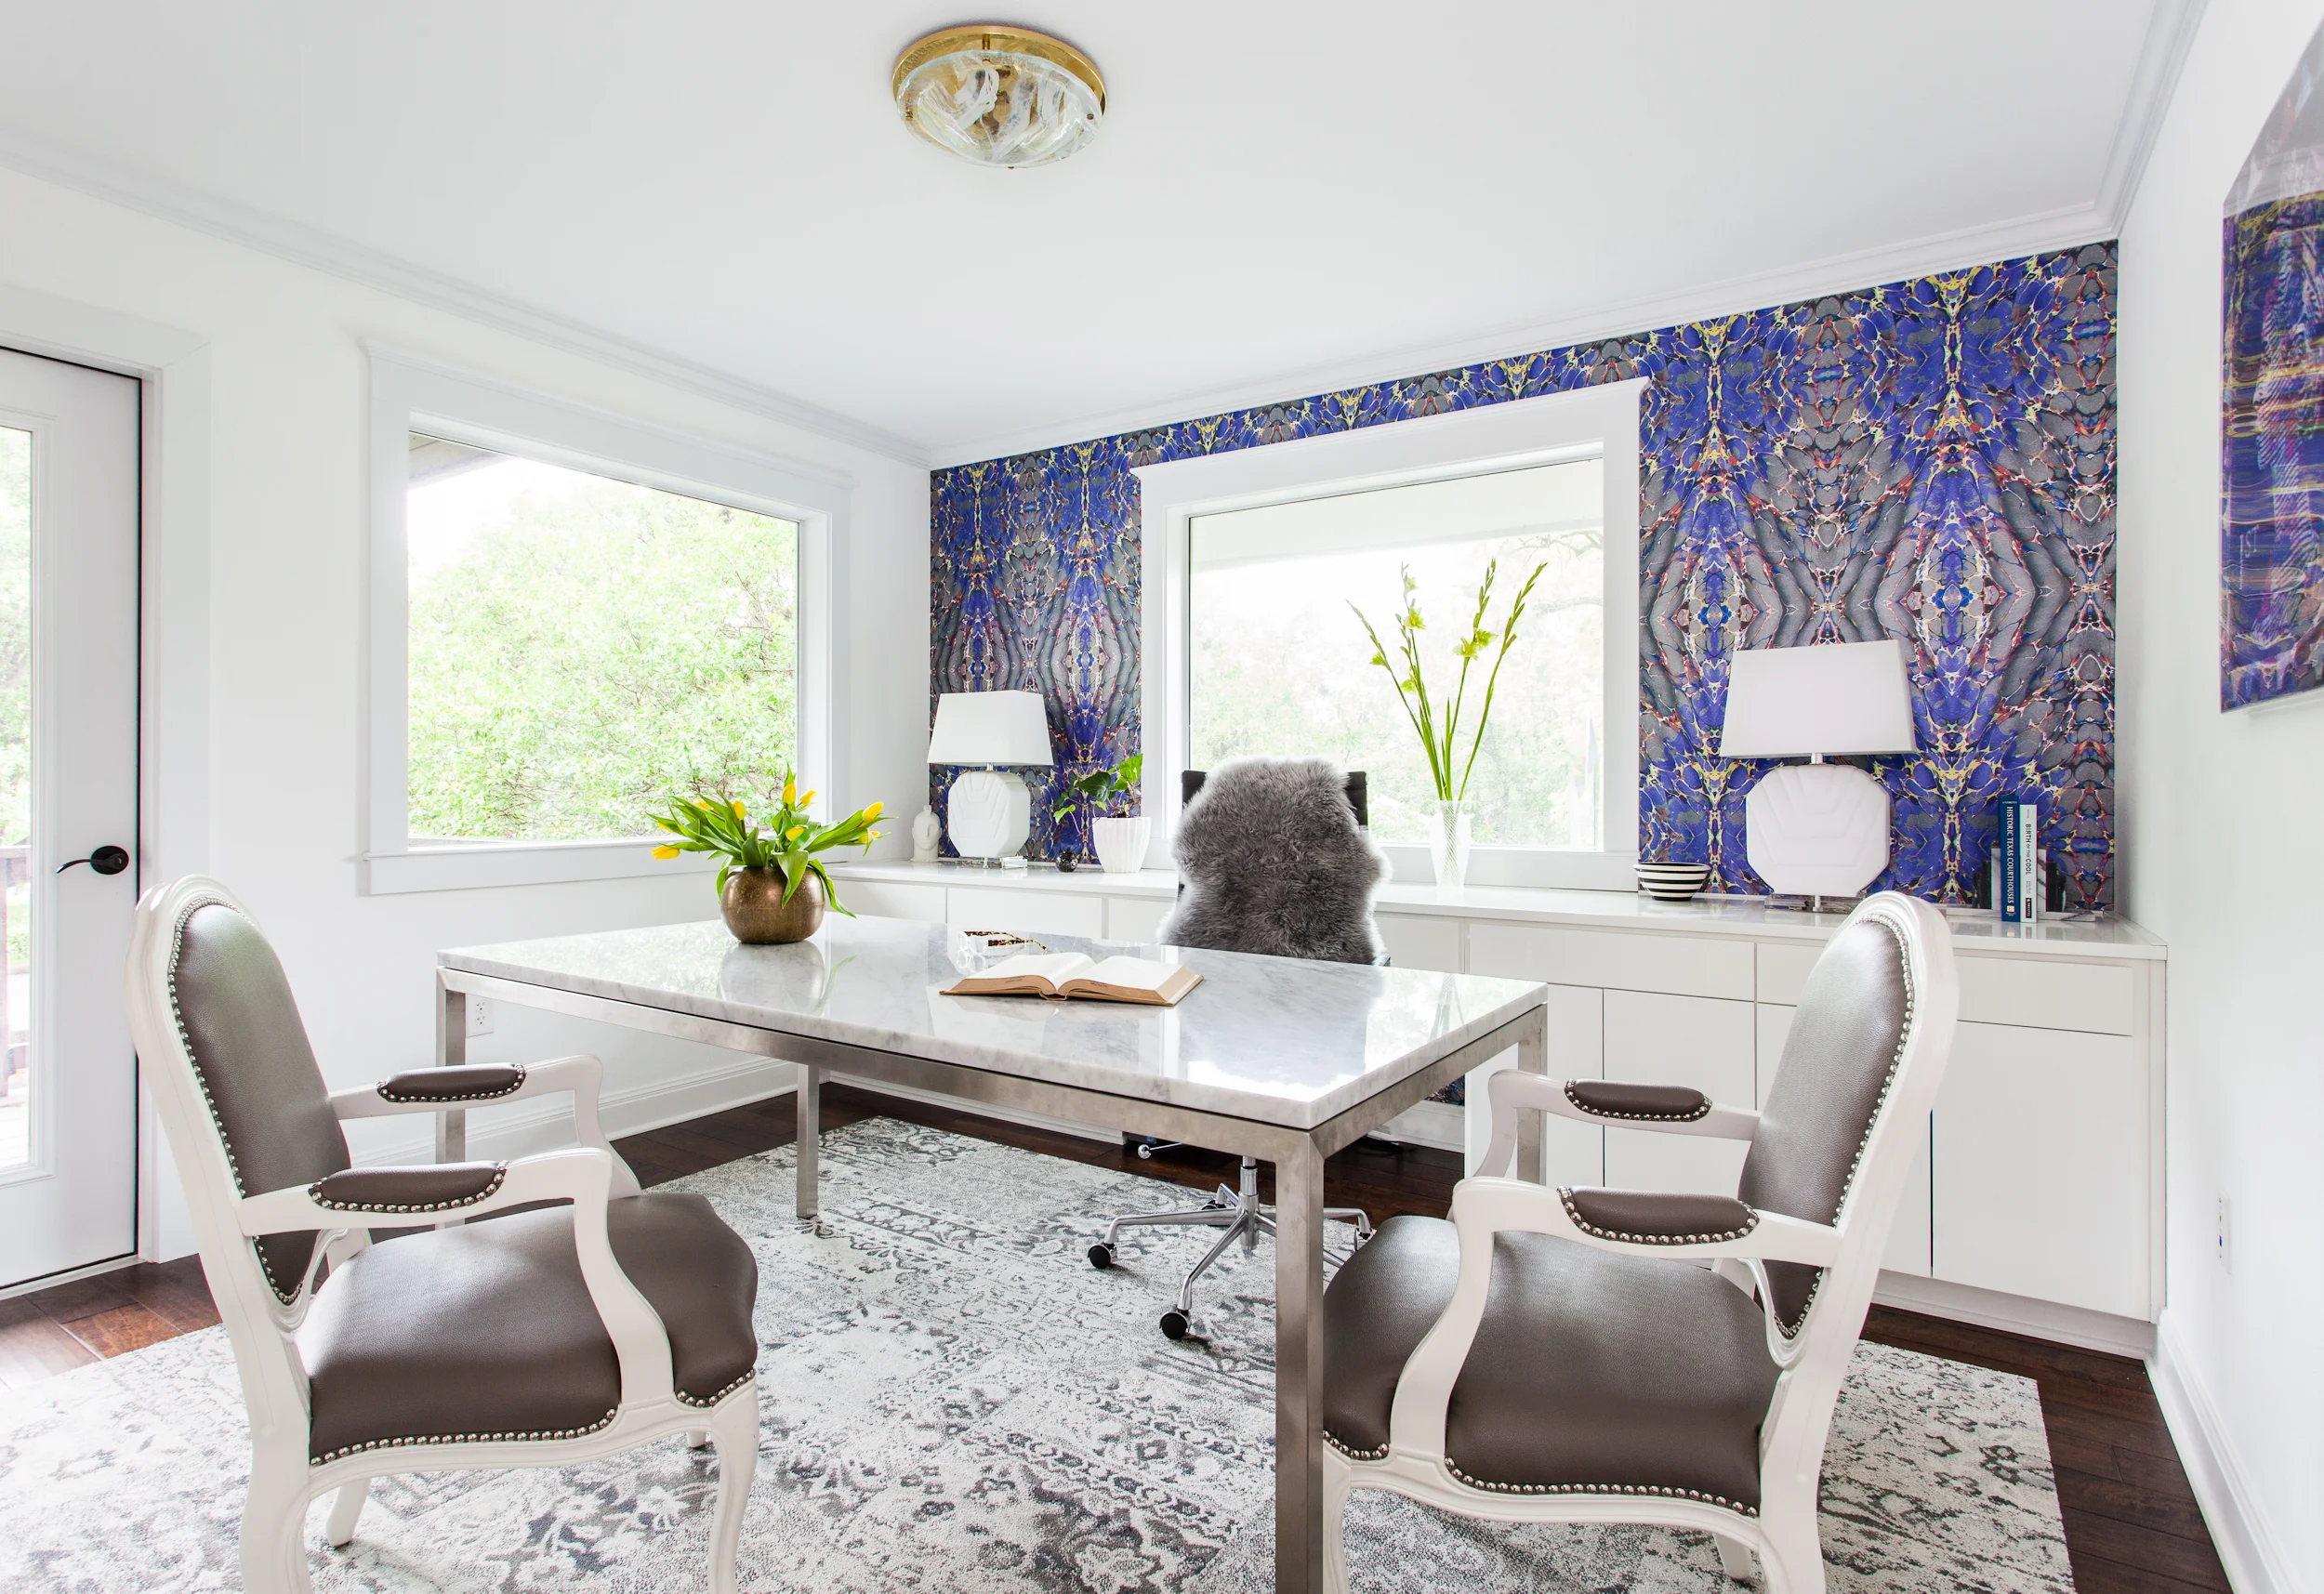
2) Build the space to suit the image.
No matter how beautifully decorated the room, you need to move things around to showcase your focal point. This goes beyond adding pillows and flowers. I mean you have to muscle some furniture around so that it shows best in the image, not in real life. These chairs are completely out of plane if viewed straight on, but when viewed from at an angle they appear to be casually placed and everything leads toward the top third of the image.
Which brings me to the next tip:
3) Don't shoot directly into the back of furniture.
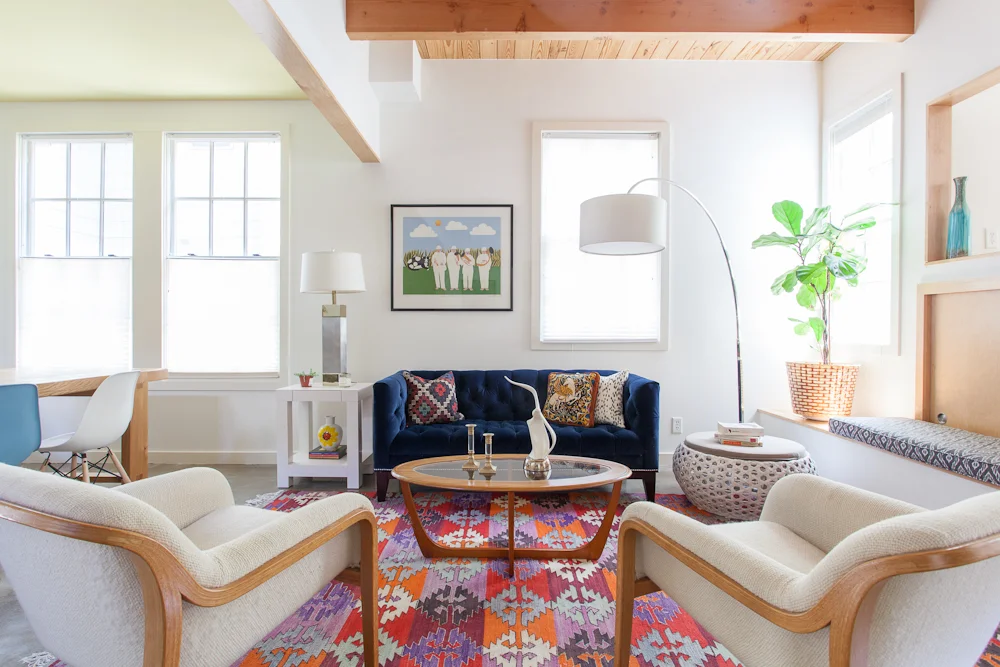
This is huge, and occasionally you have to break this rule. But it's best to never shoot straight into the backs of furniture unless you have some super sexy back action happening. Allow your viewers to find an entry point into the frame by either standing to the side and shooting through the furniture arrangement, or moving chairs so that they are angled and do not block the field of view.
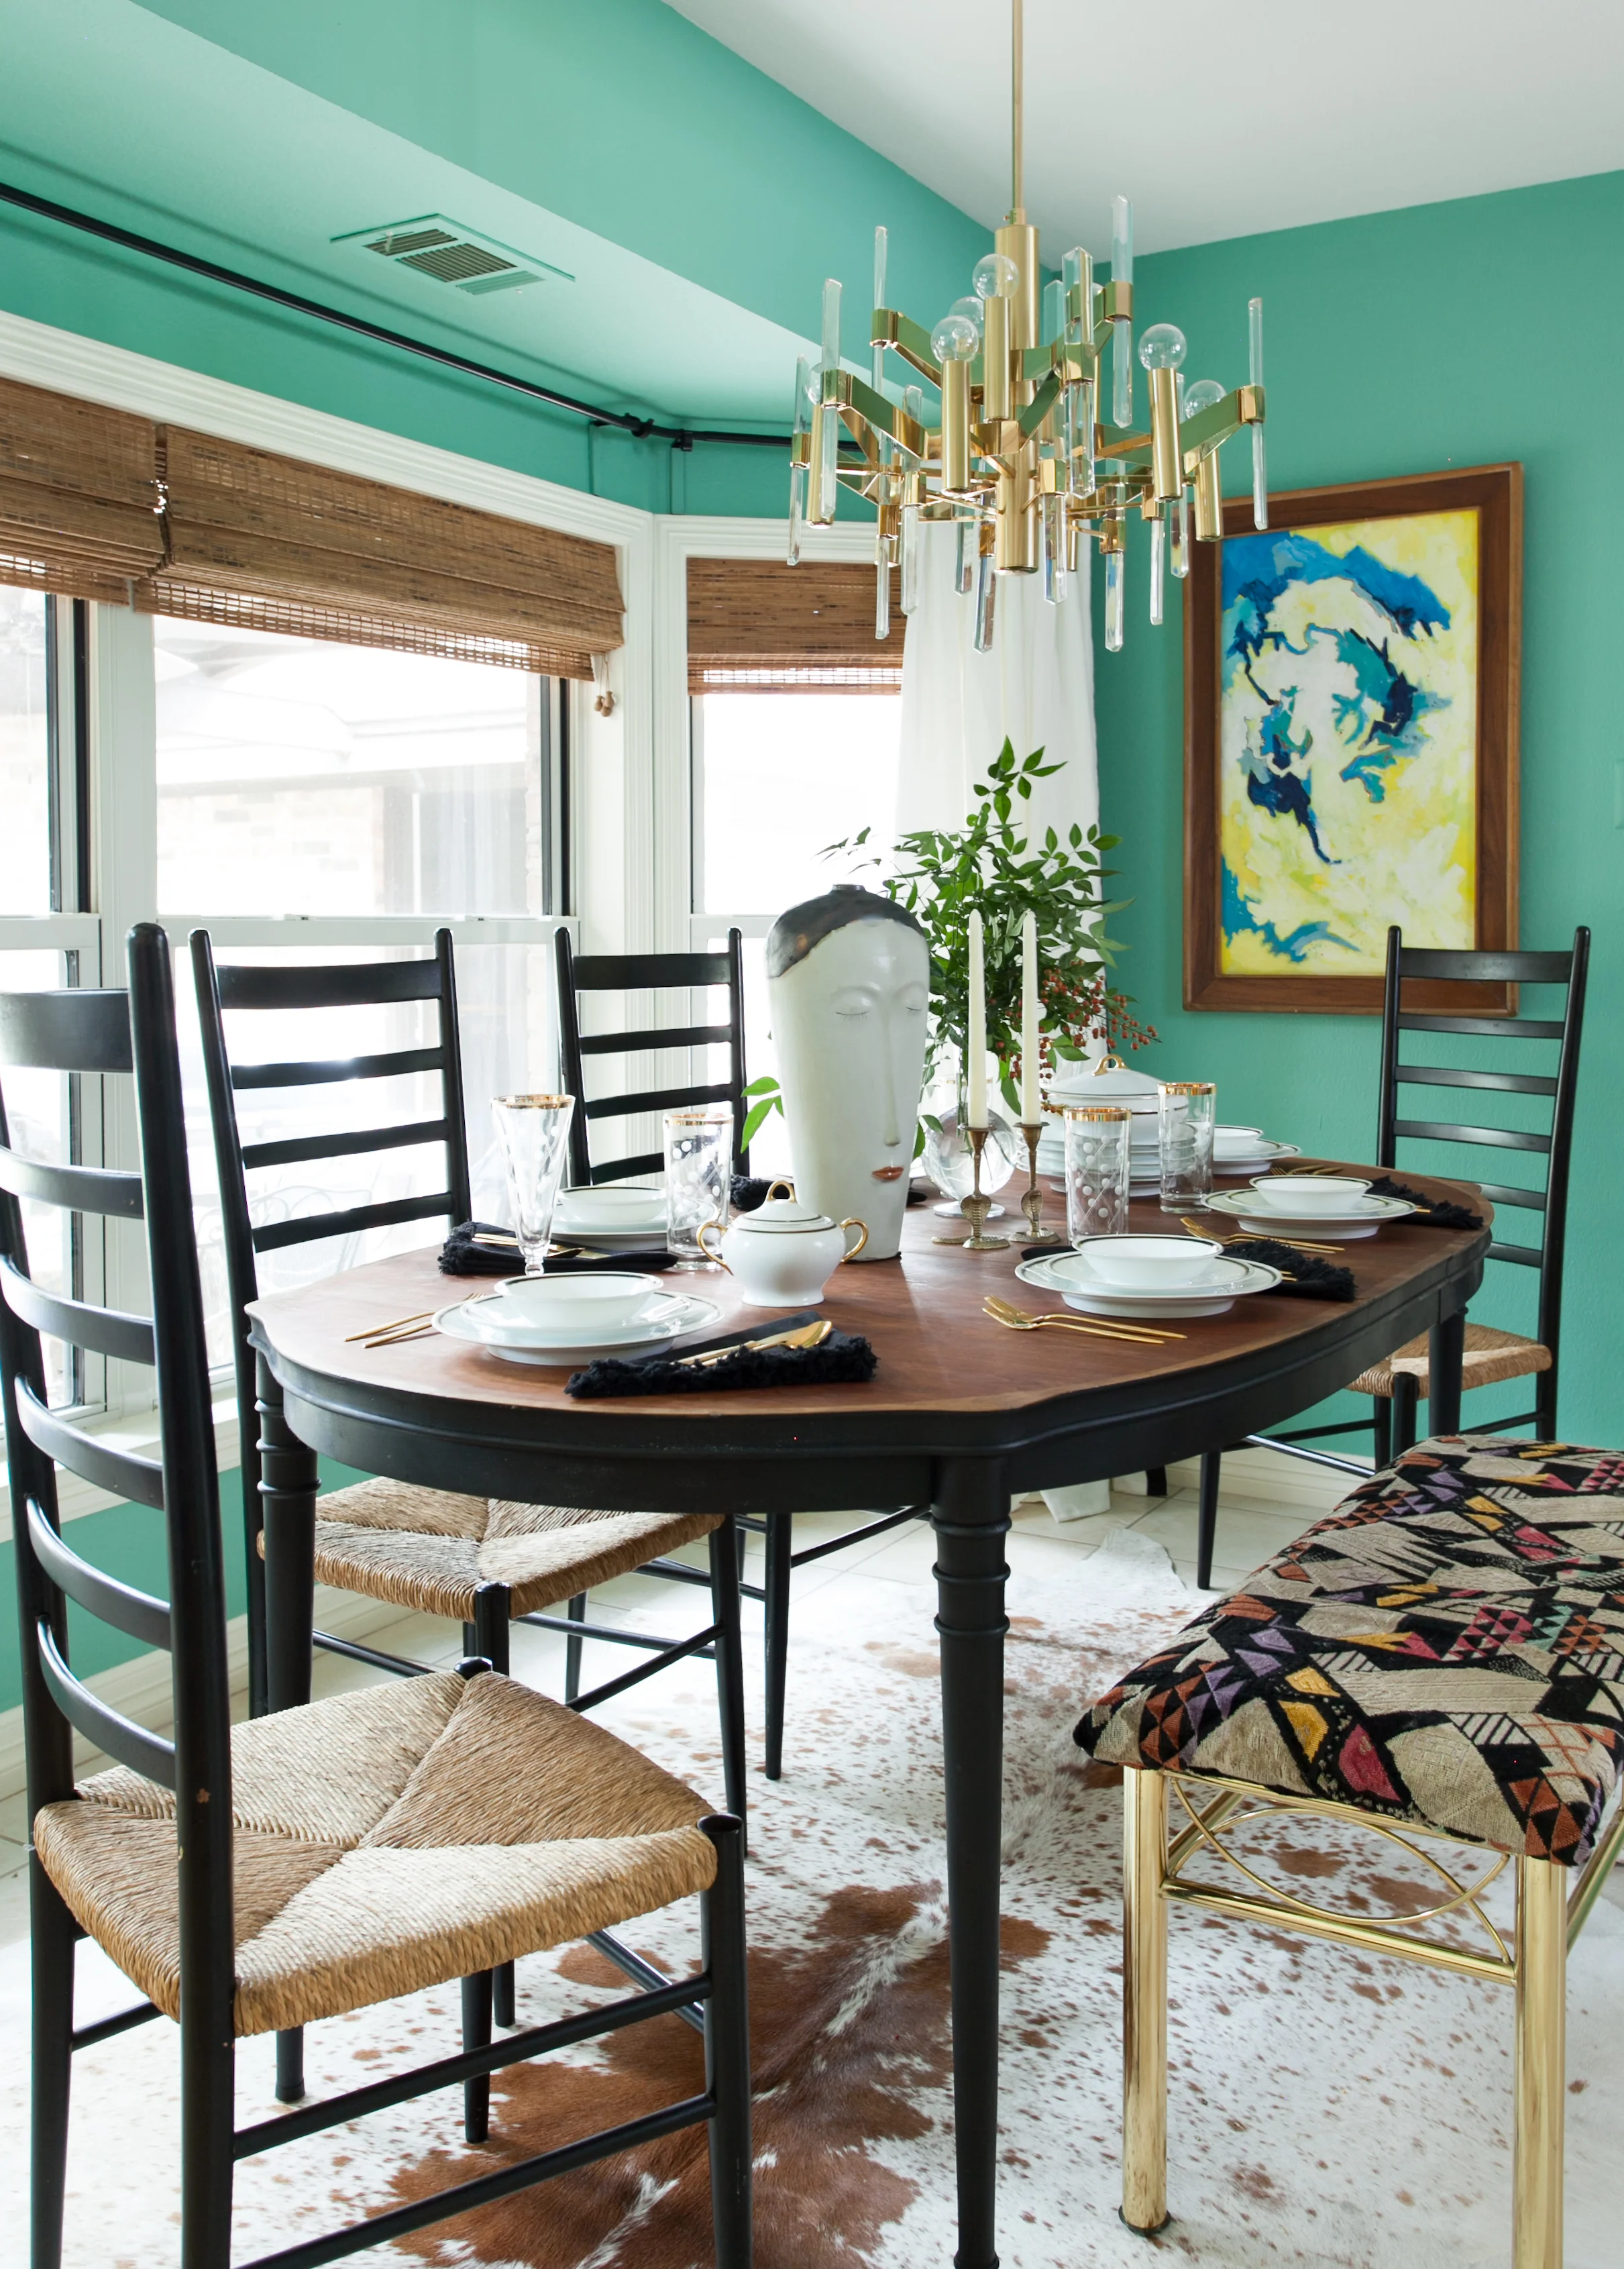
4) Landscape the room with varying heights.
You are basically constructing an architectural set, and if everything is at the same height the resulting image will read as Snoozeville USA. Make it dynamic by staggering heights of art, drapery, plants, furnishings, etc. across the room. Sometimes a change in camera angle will do the trick.
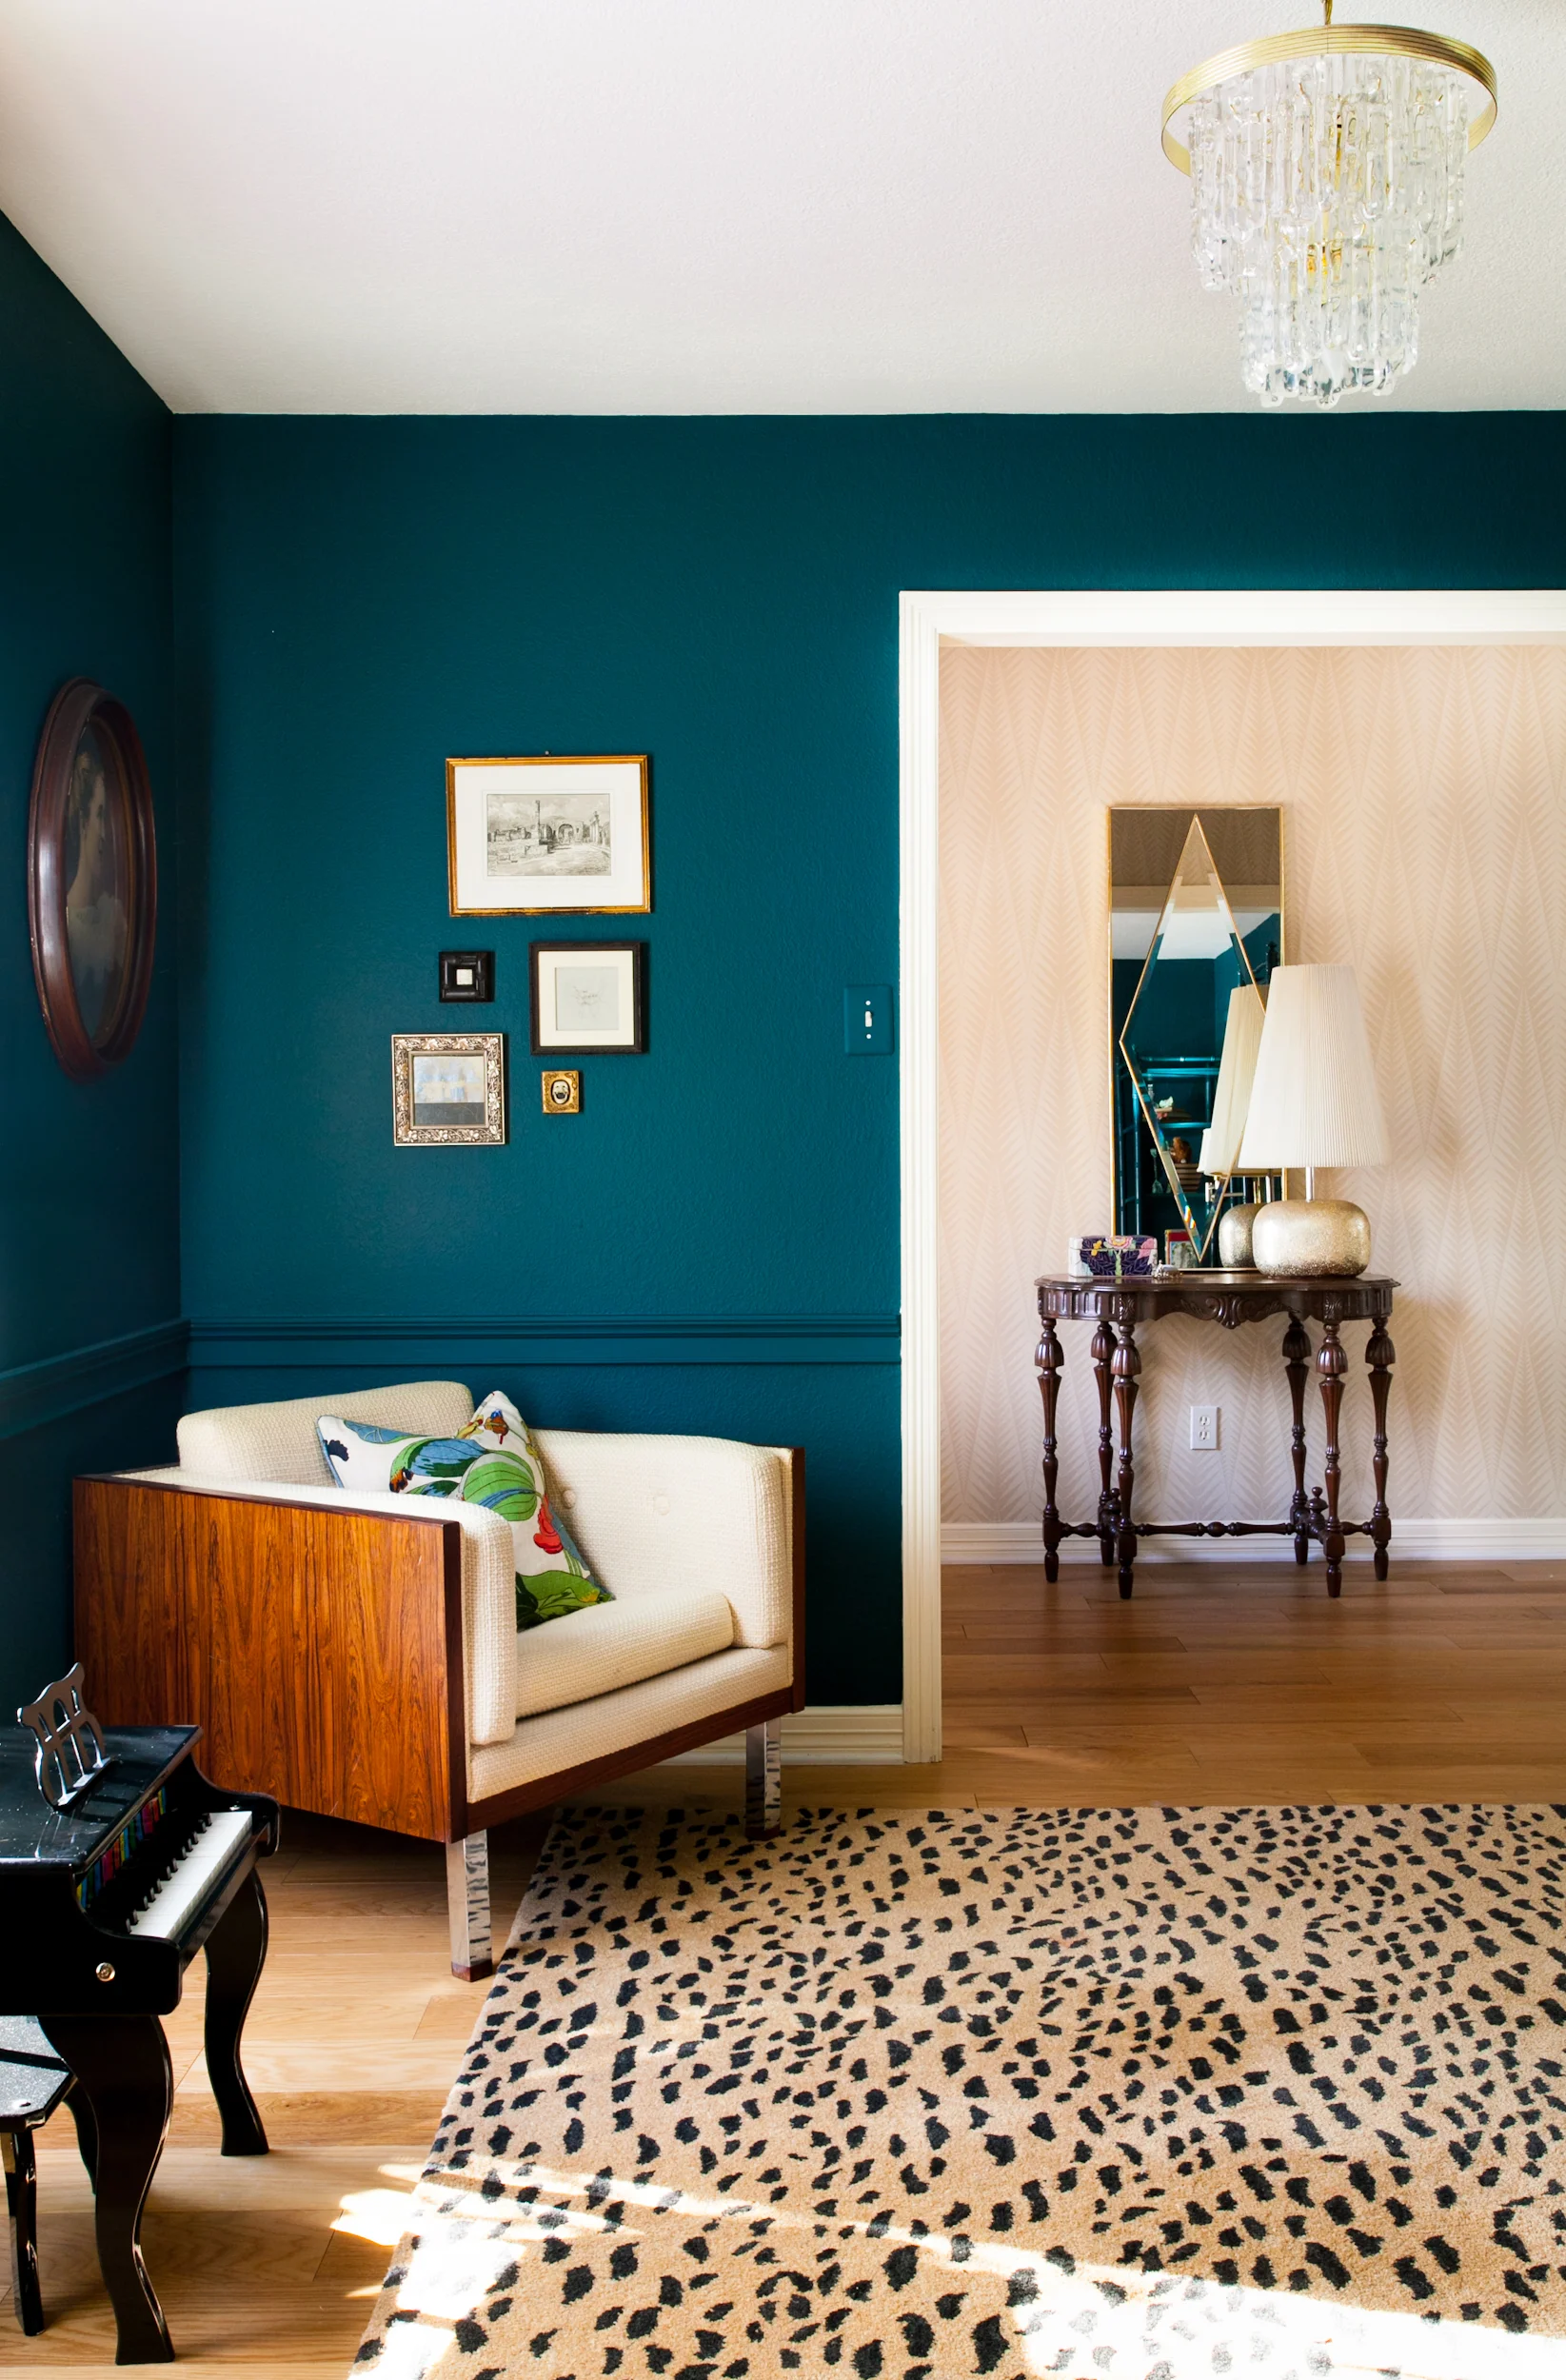
5) Get lower.
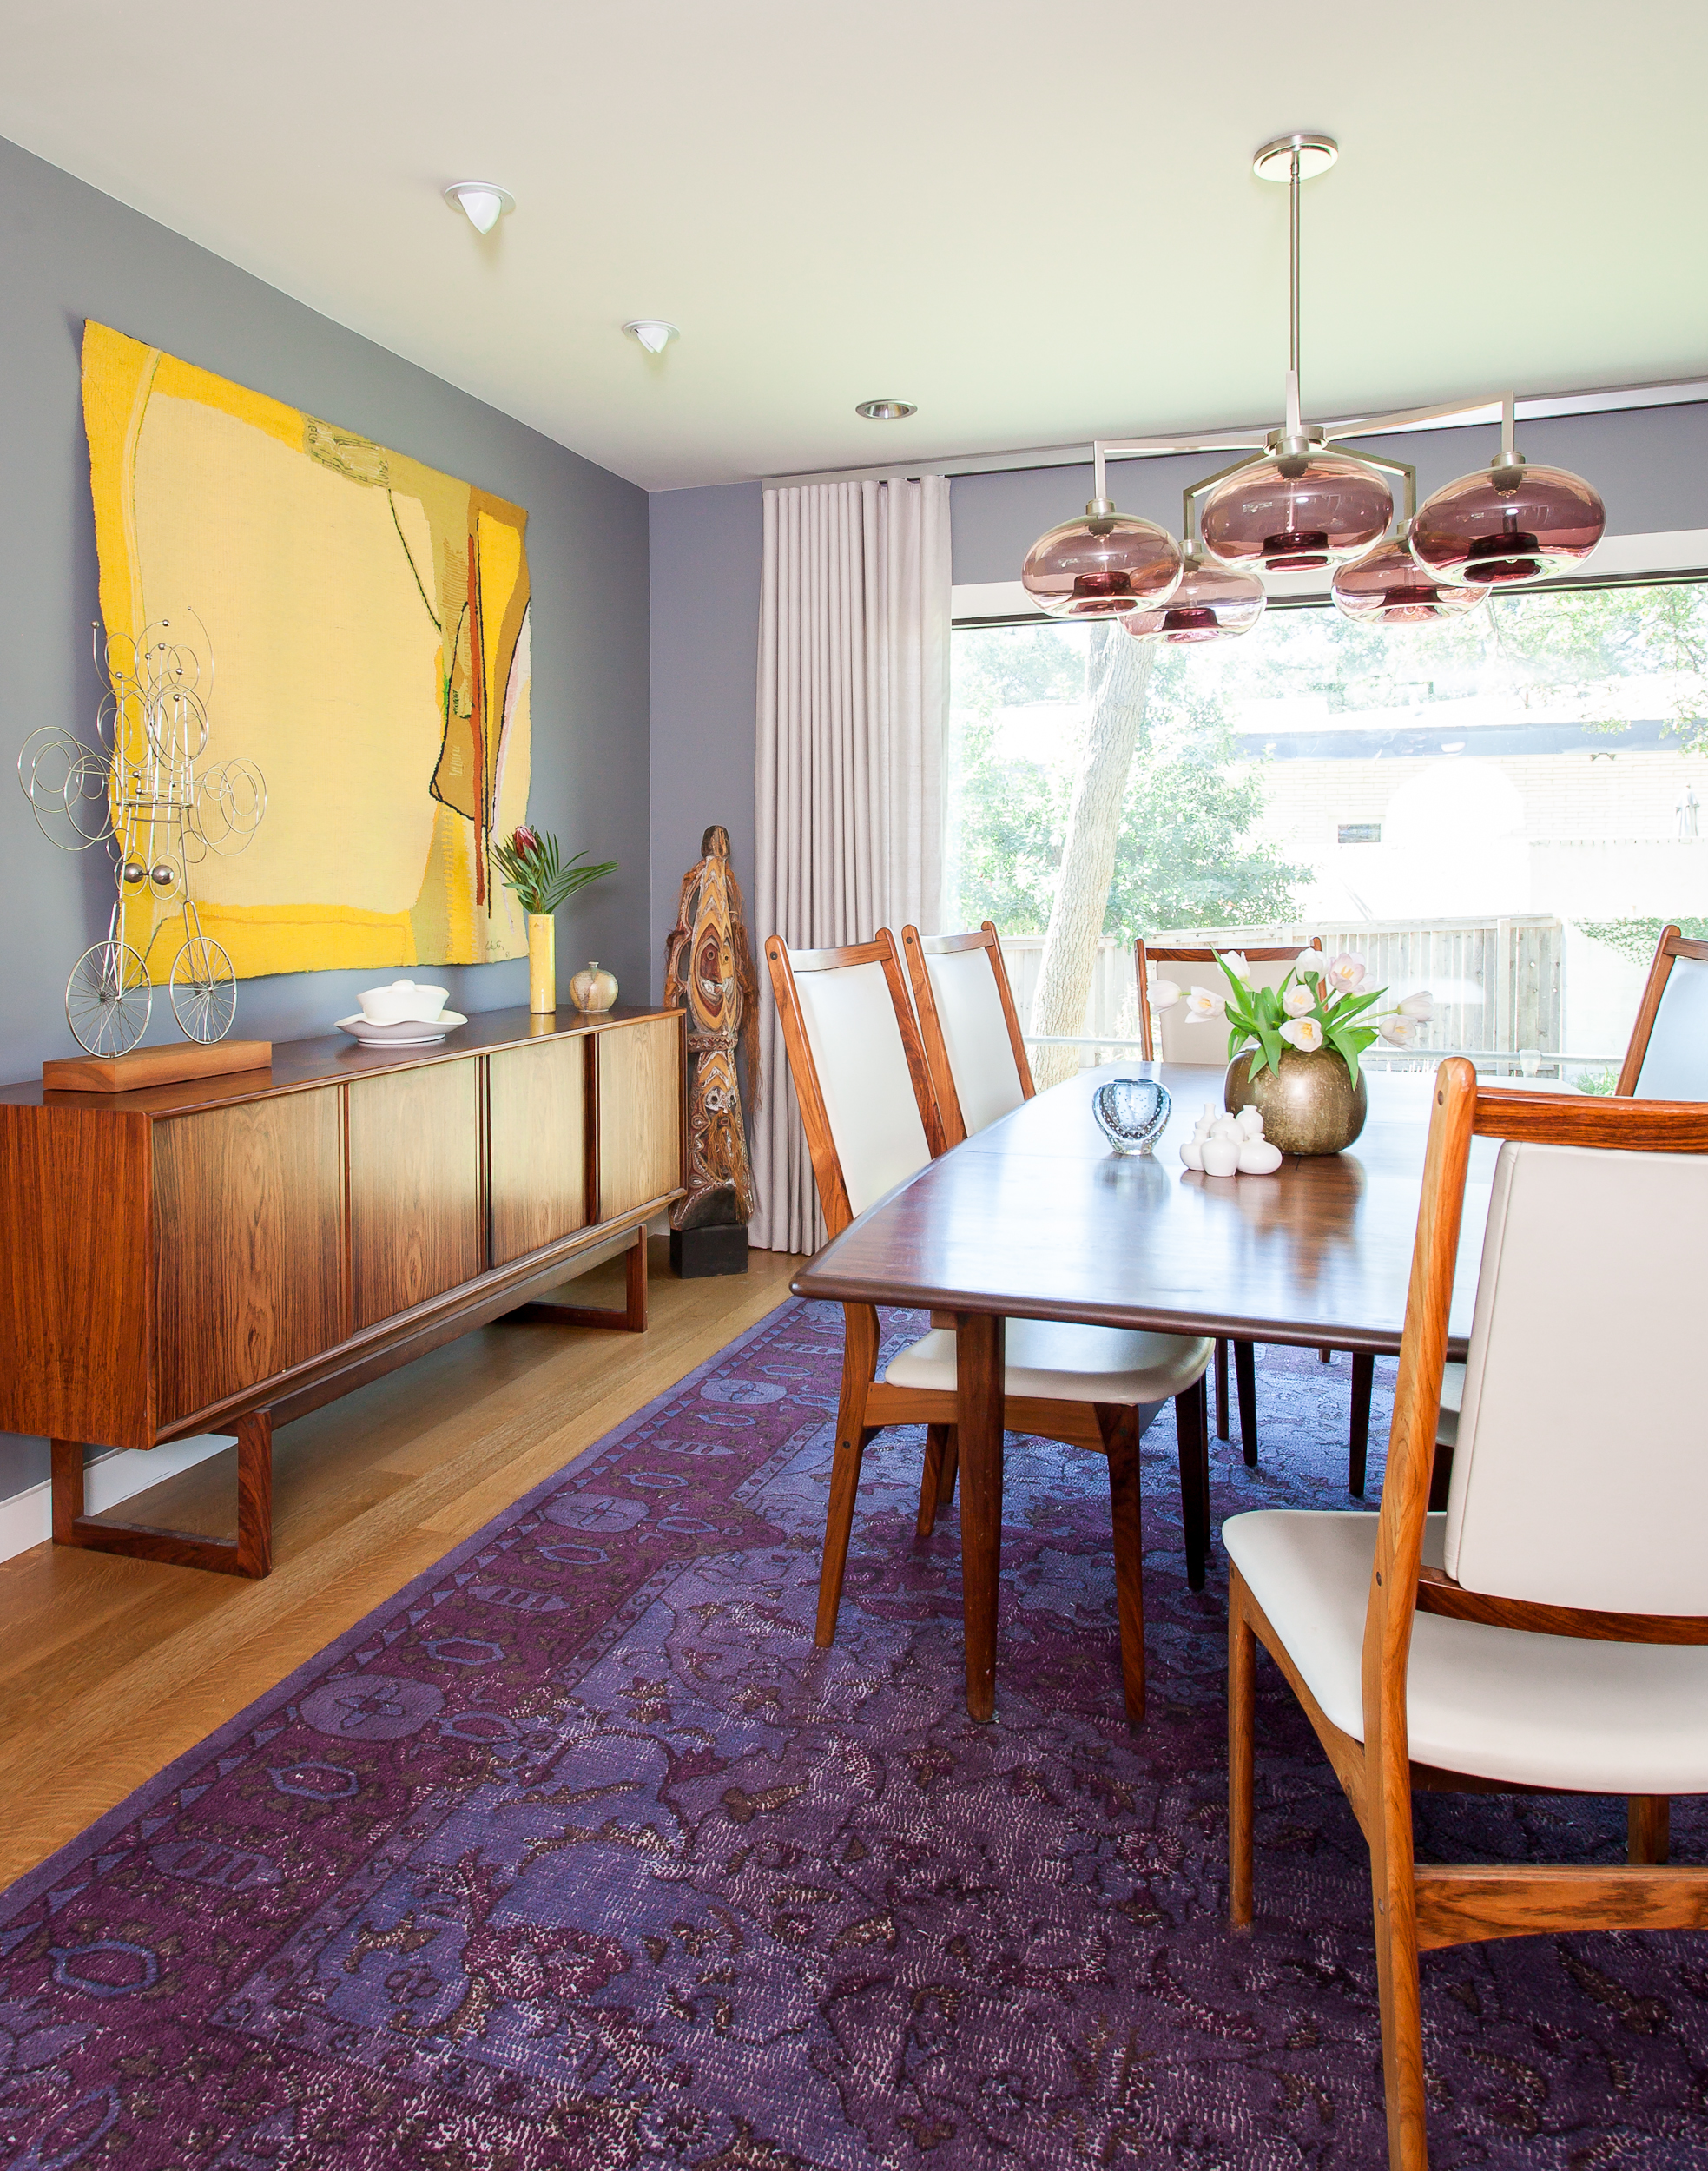
Too much ceiling can kill a picture, plus don't you want to show off your swanky rug? Get used to squatting. Back up, use a wide angle lens, make sure you get enough of the floor, and then crop in when you edit the photos. Shooting to crop is not really best practice, but it's often a necessary evil unless you have a fancy perspective control lens. I don't.
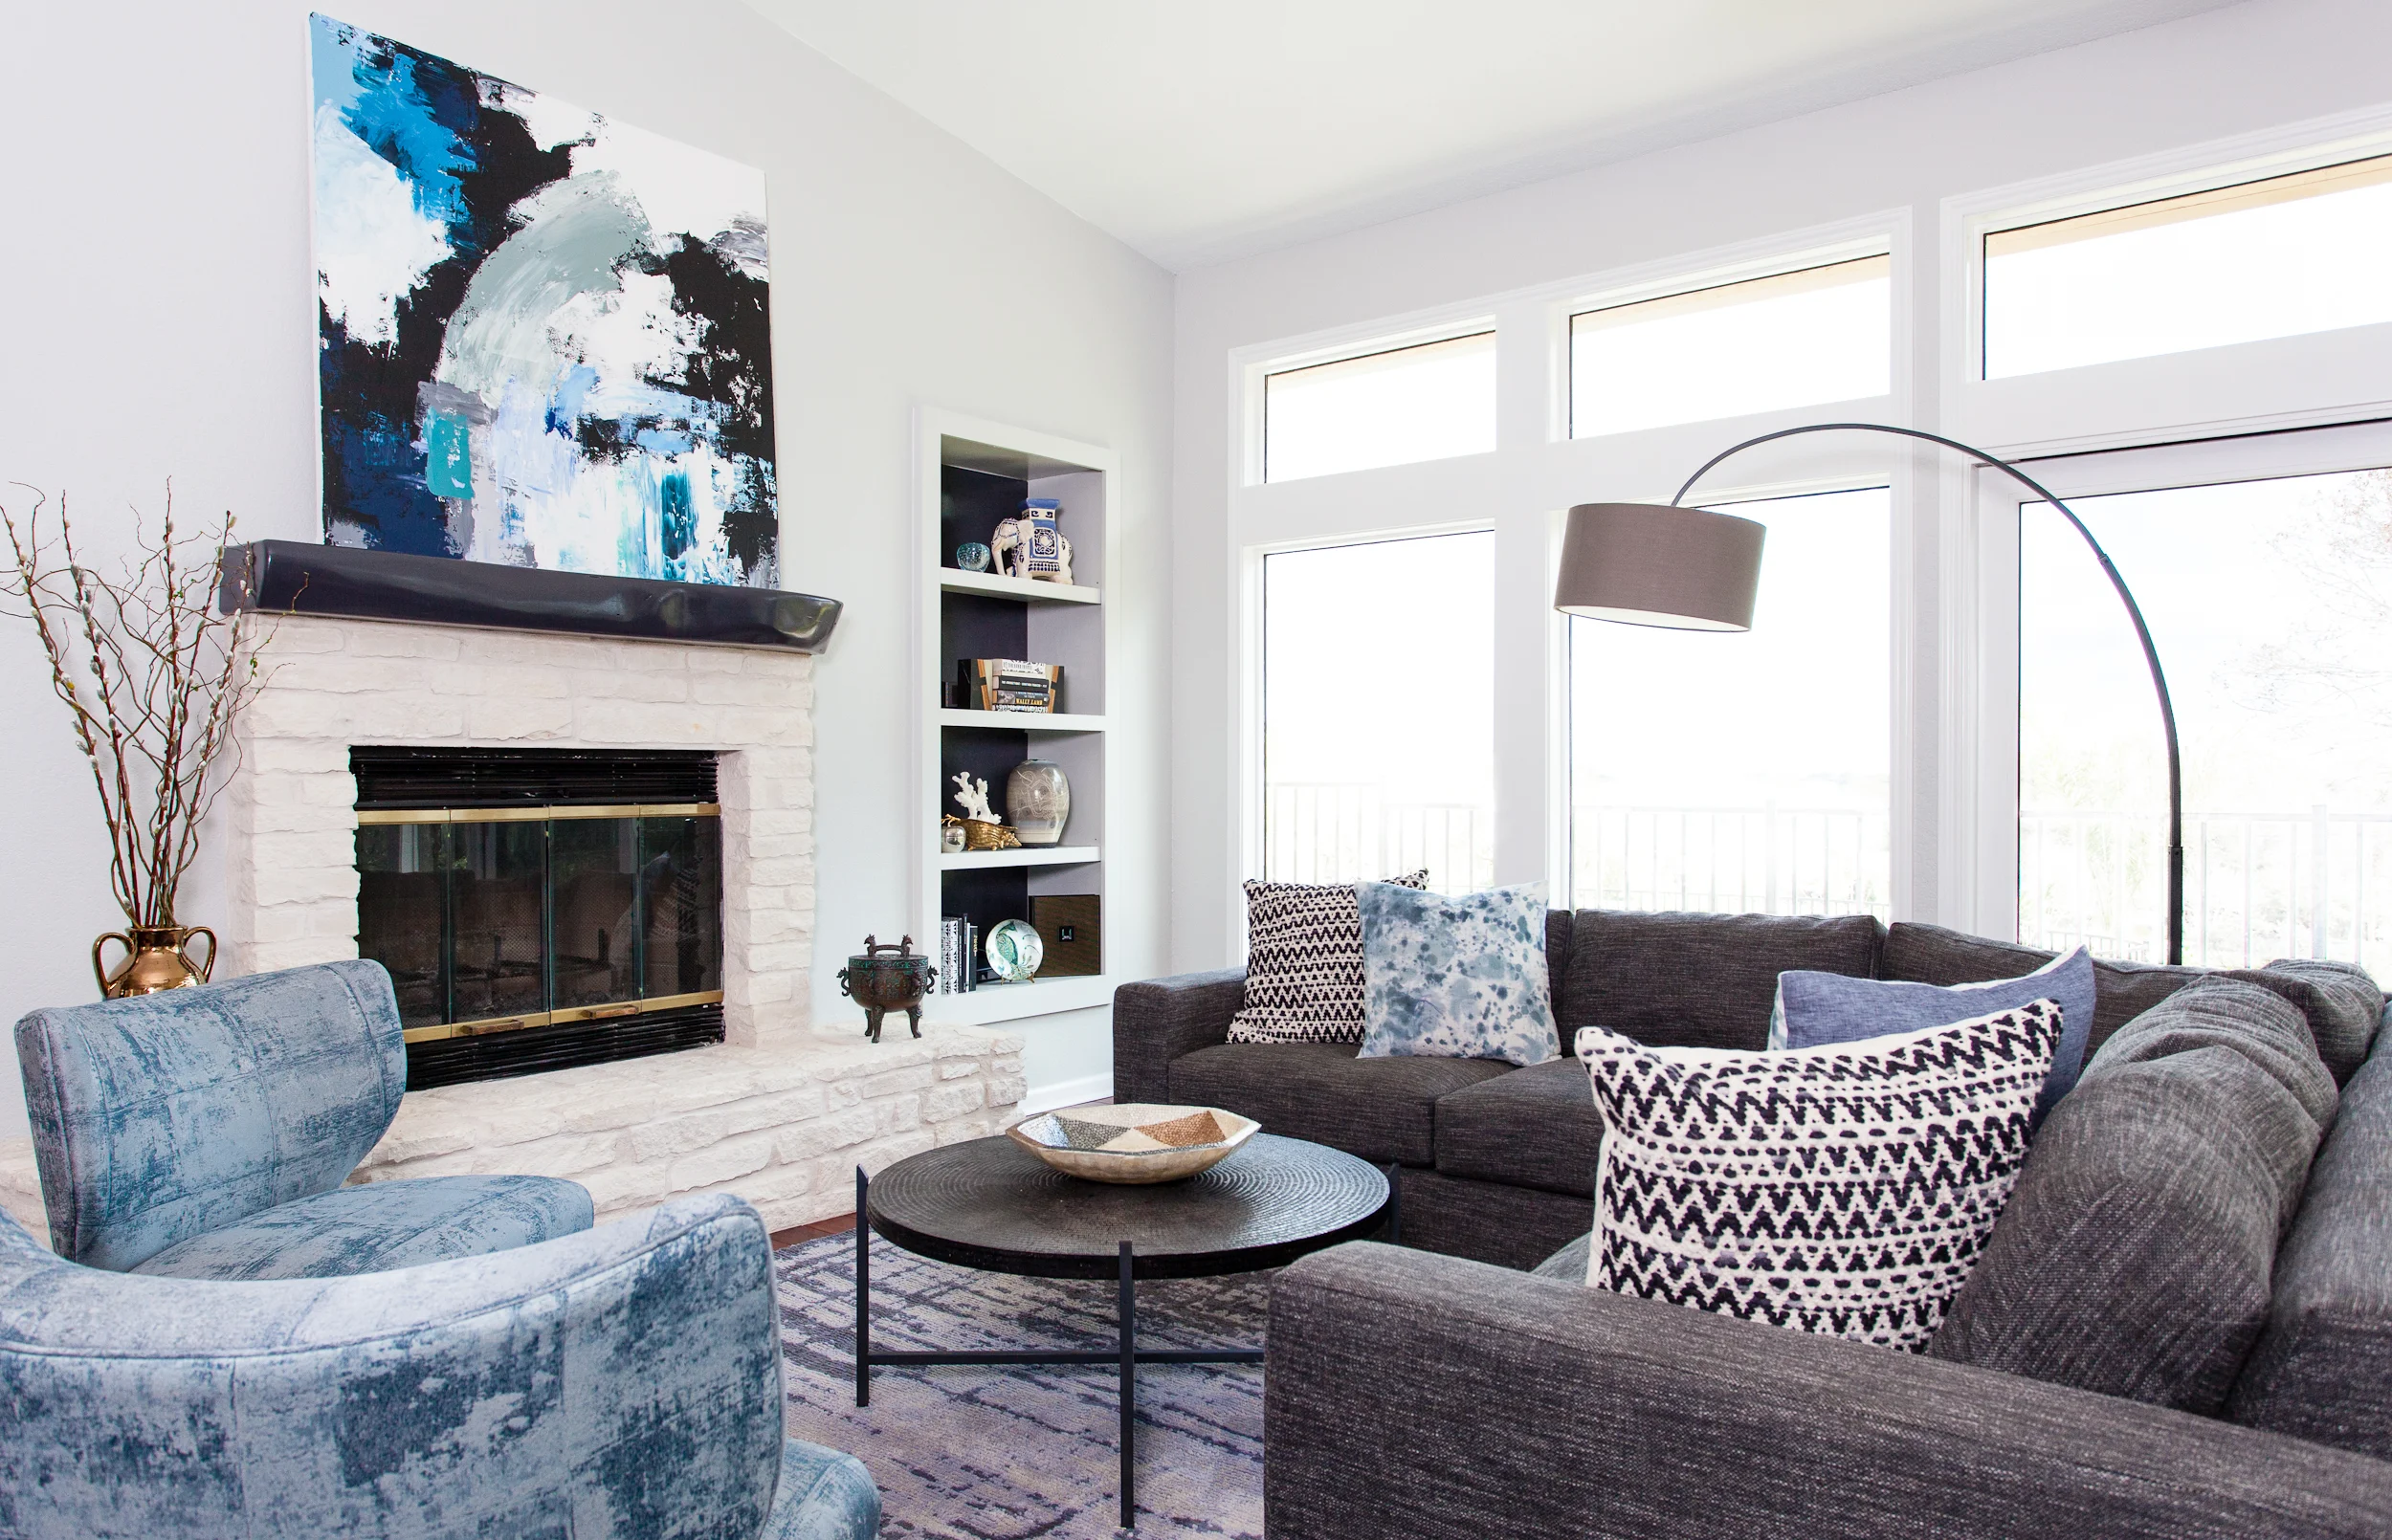
6) Bookend your image.

The eye travels, which is great as long as it's travelling inside your image. If you have lots of white space (like windows) at the edges of the frame, chances are eyeballs will keep on travelling... outside the frame. Try to edge the image with something slightly darker to keep the field of vision contained. It's like building a vignette around the frame, but better than using a cheesy filter. Oh, and if you have directional decor at the edge of the frame, position it so that it points inward.
7) Control your light.
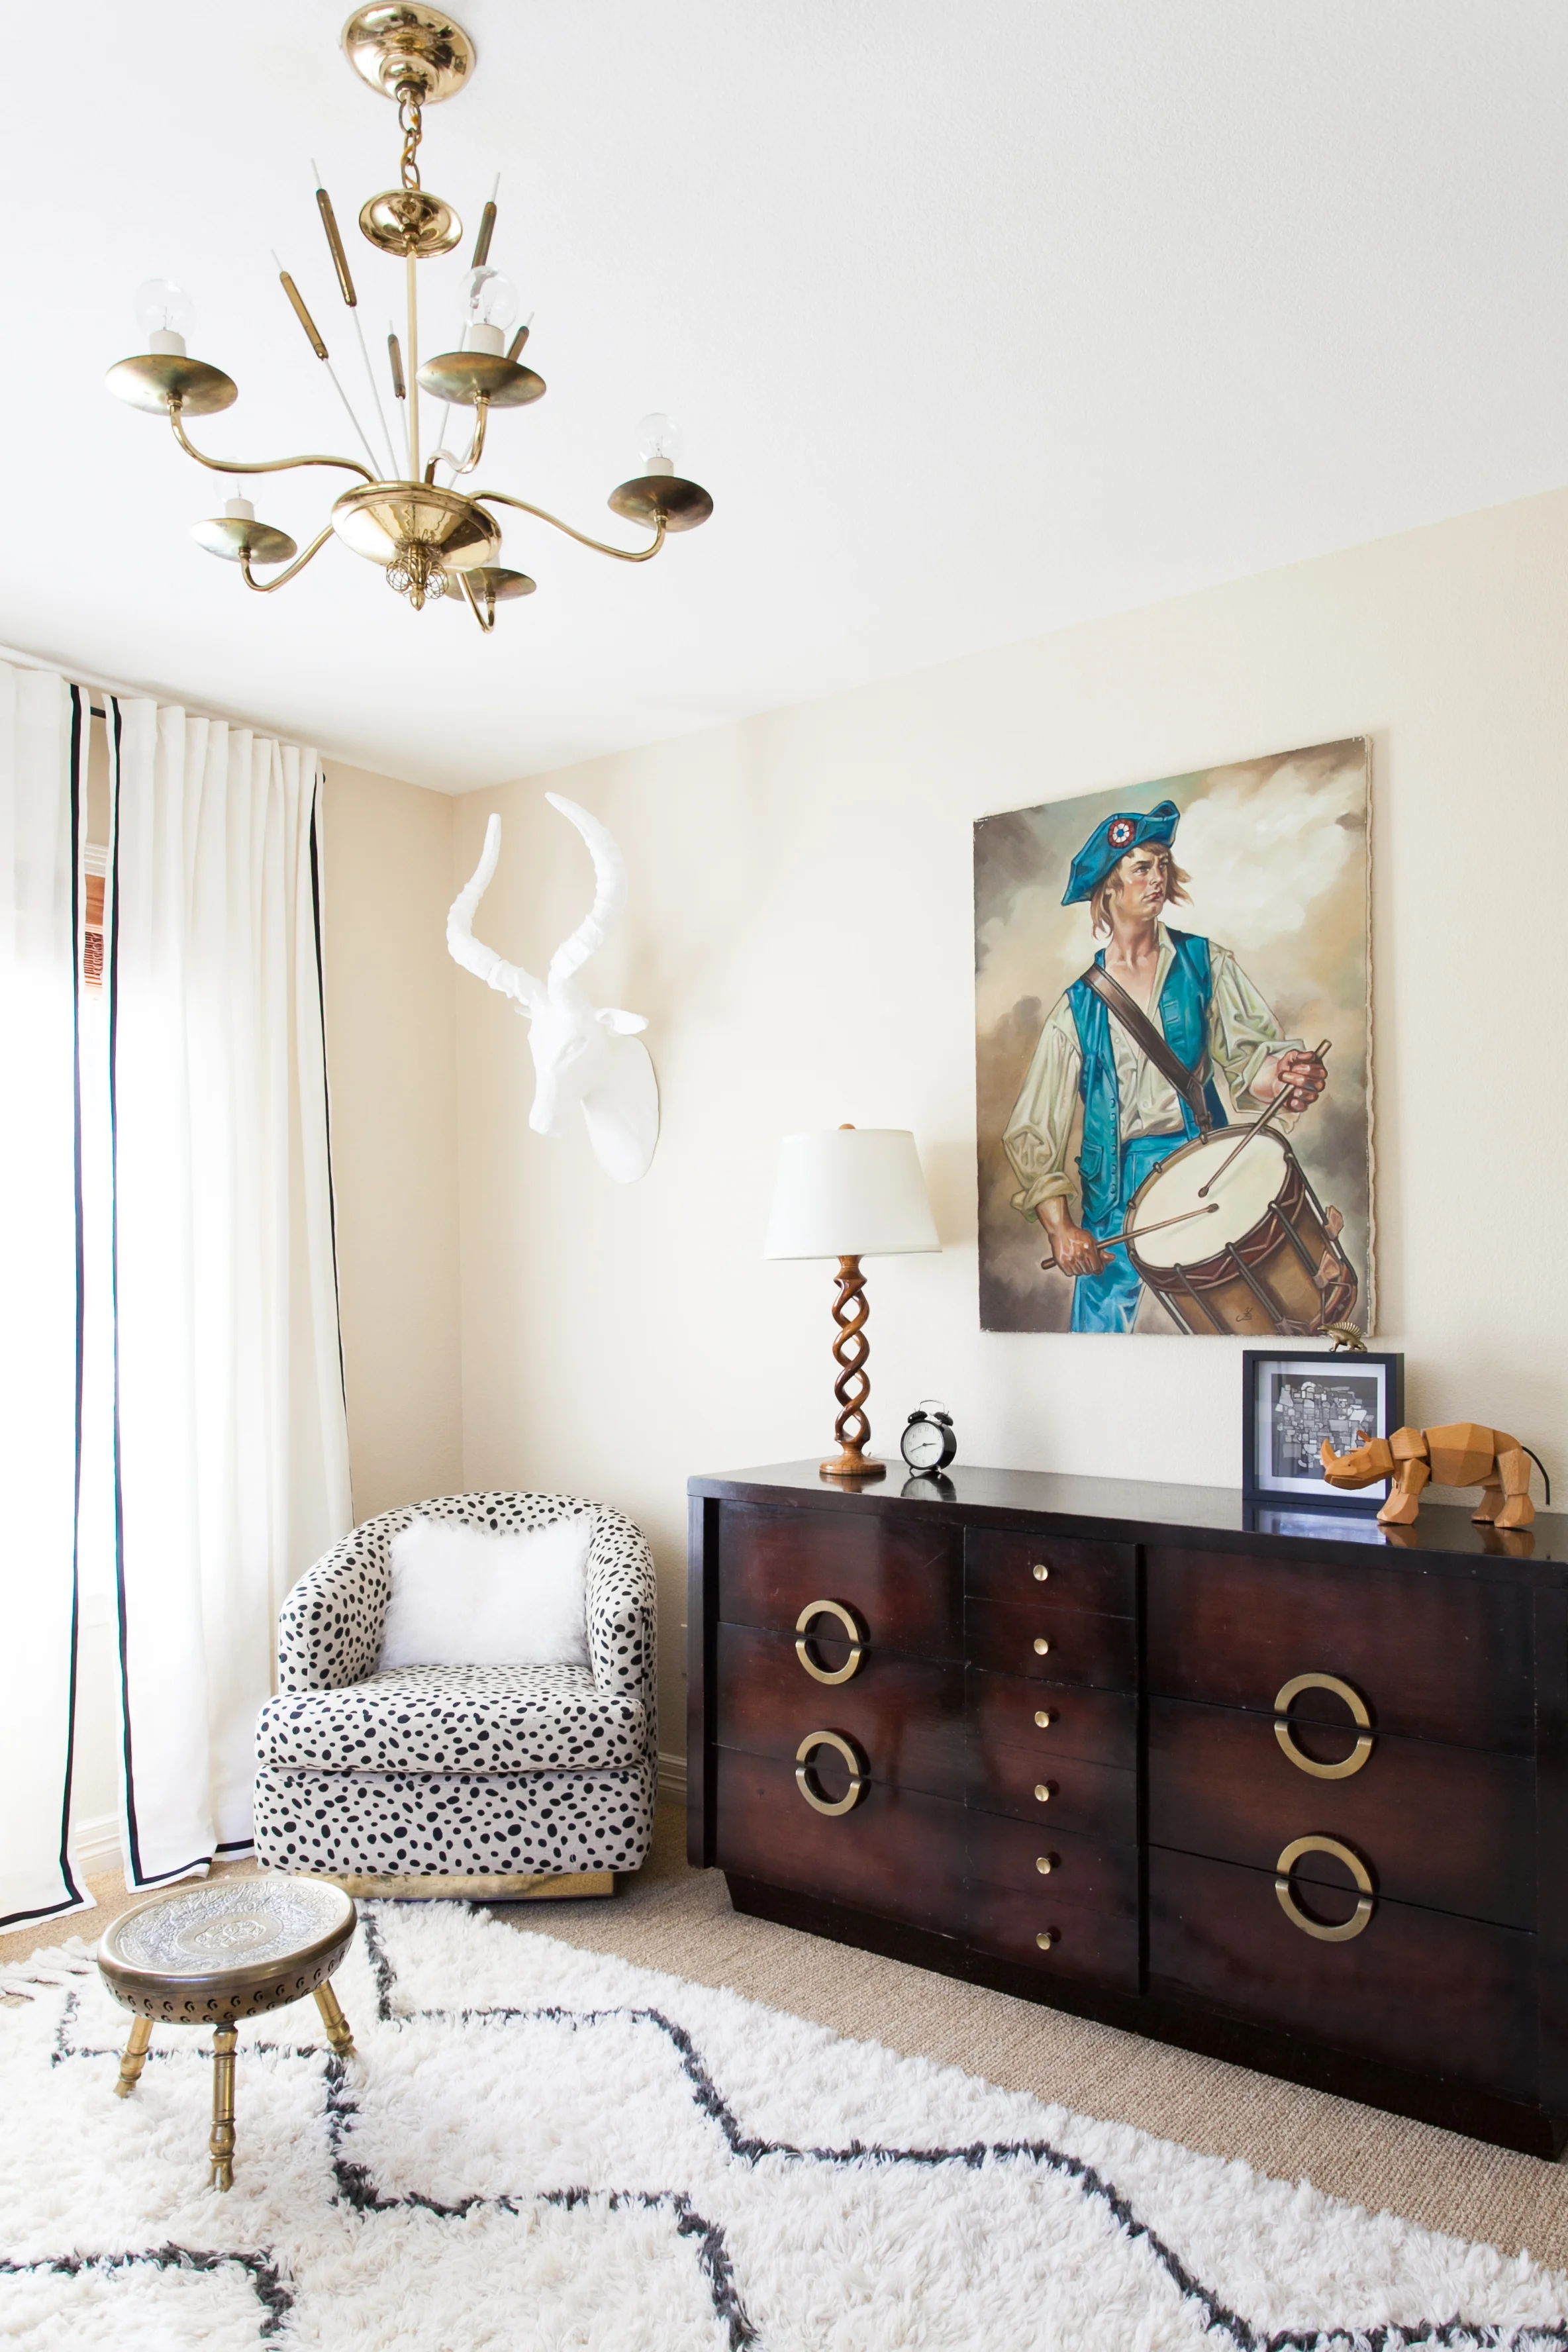
For a while it was kind of in vogue to shoot with lamps on. Just don't do it. Shooting a light source is difficult and often doesn't read well. And sometimes when you are shooting into a window, it's ok to close the curtains. In fact, you can use them to filter and direct the light.
8) Flip pillows around so you don't shoot into blank fabric.
Hide that plain white canvas you used on the backs of your $200/yd pillow fronts. If you are shooting a sofa or chair from an angle and the pillow back is showing, flip that sucker over. It will be our secret. (Design by the fabulous Stone Textile, from a shoot I did last year).
9) Clean up the clutter.
Stuff multiplies X1000 under the microscopic glare of the camera. Do yourself and your viewers a favor by limiting accessories to only things that seem purposeful.
10) Make the vignettes you shoot count.
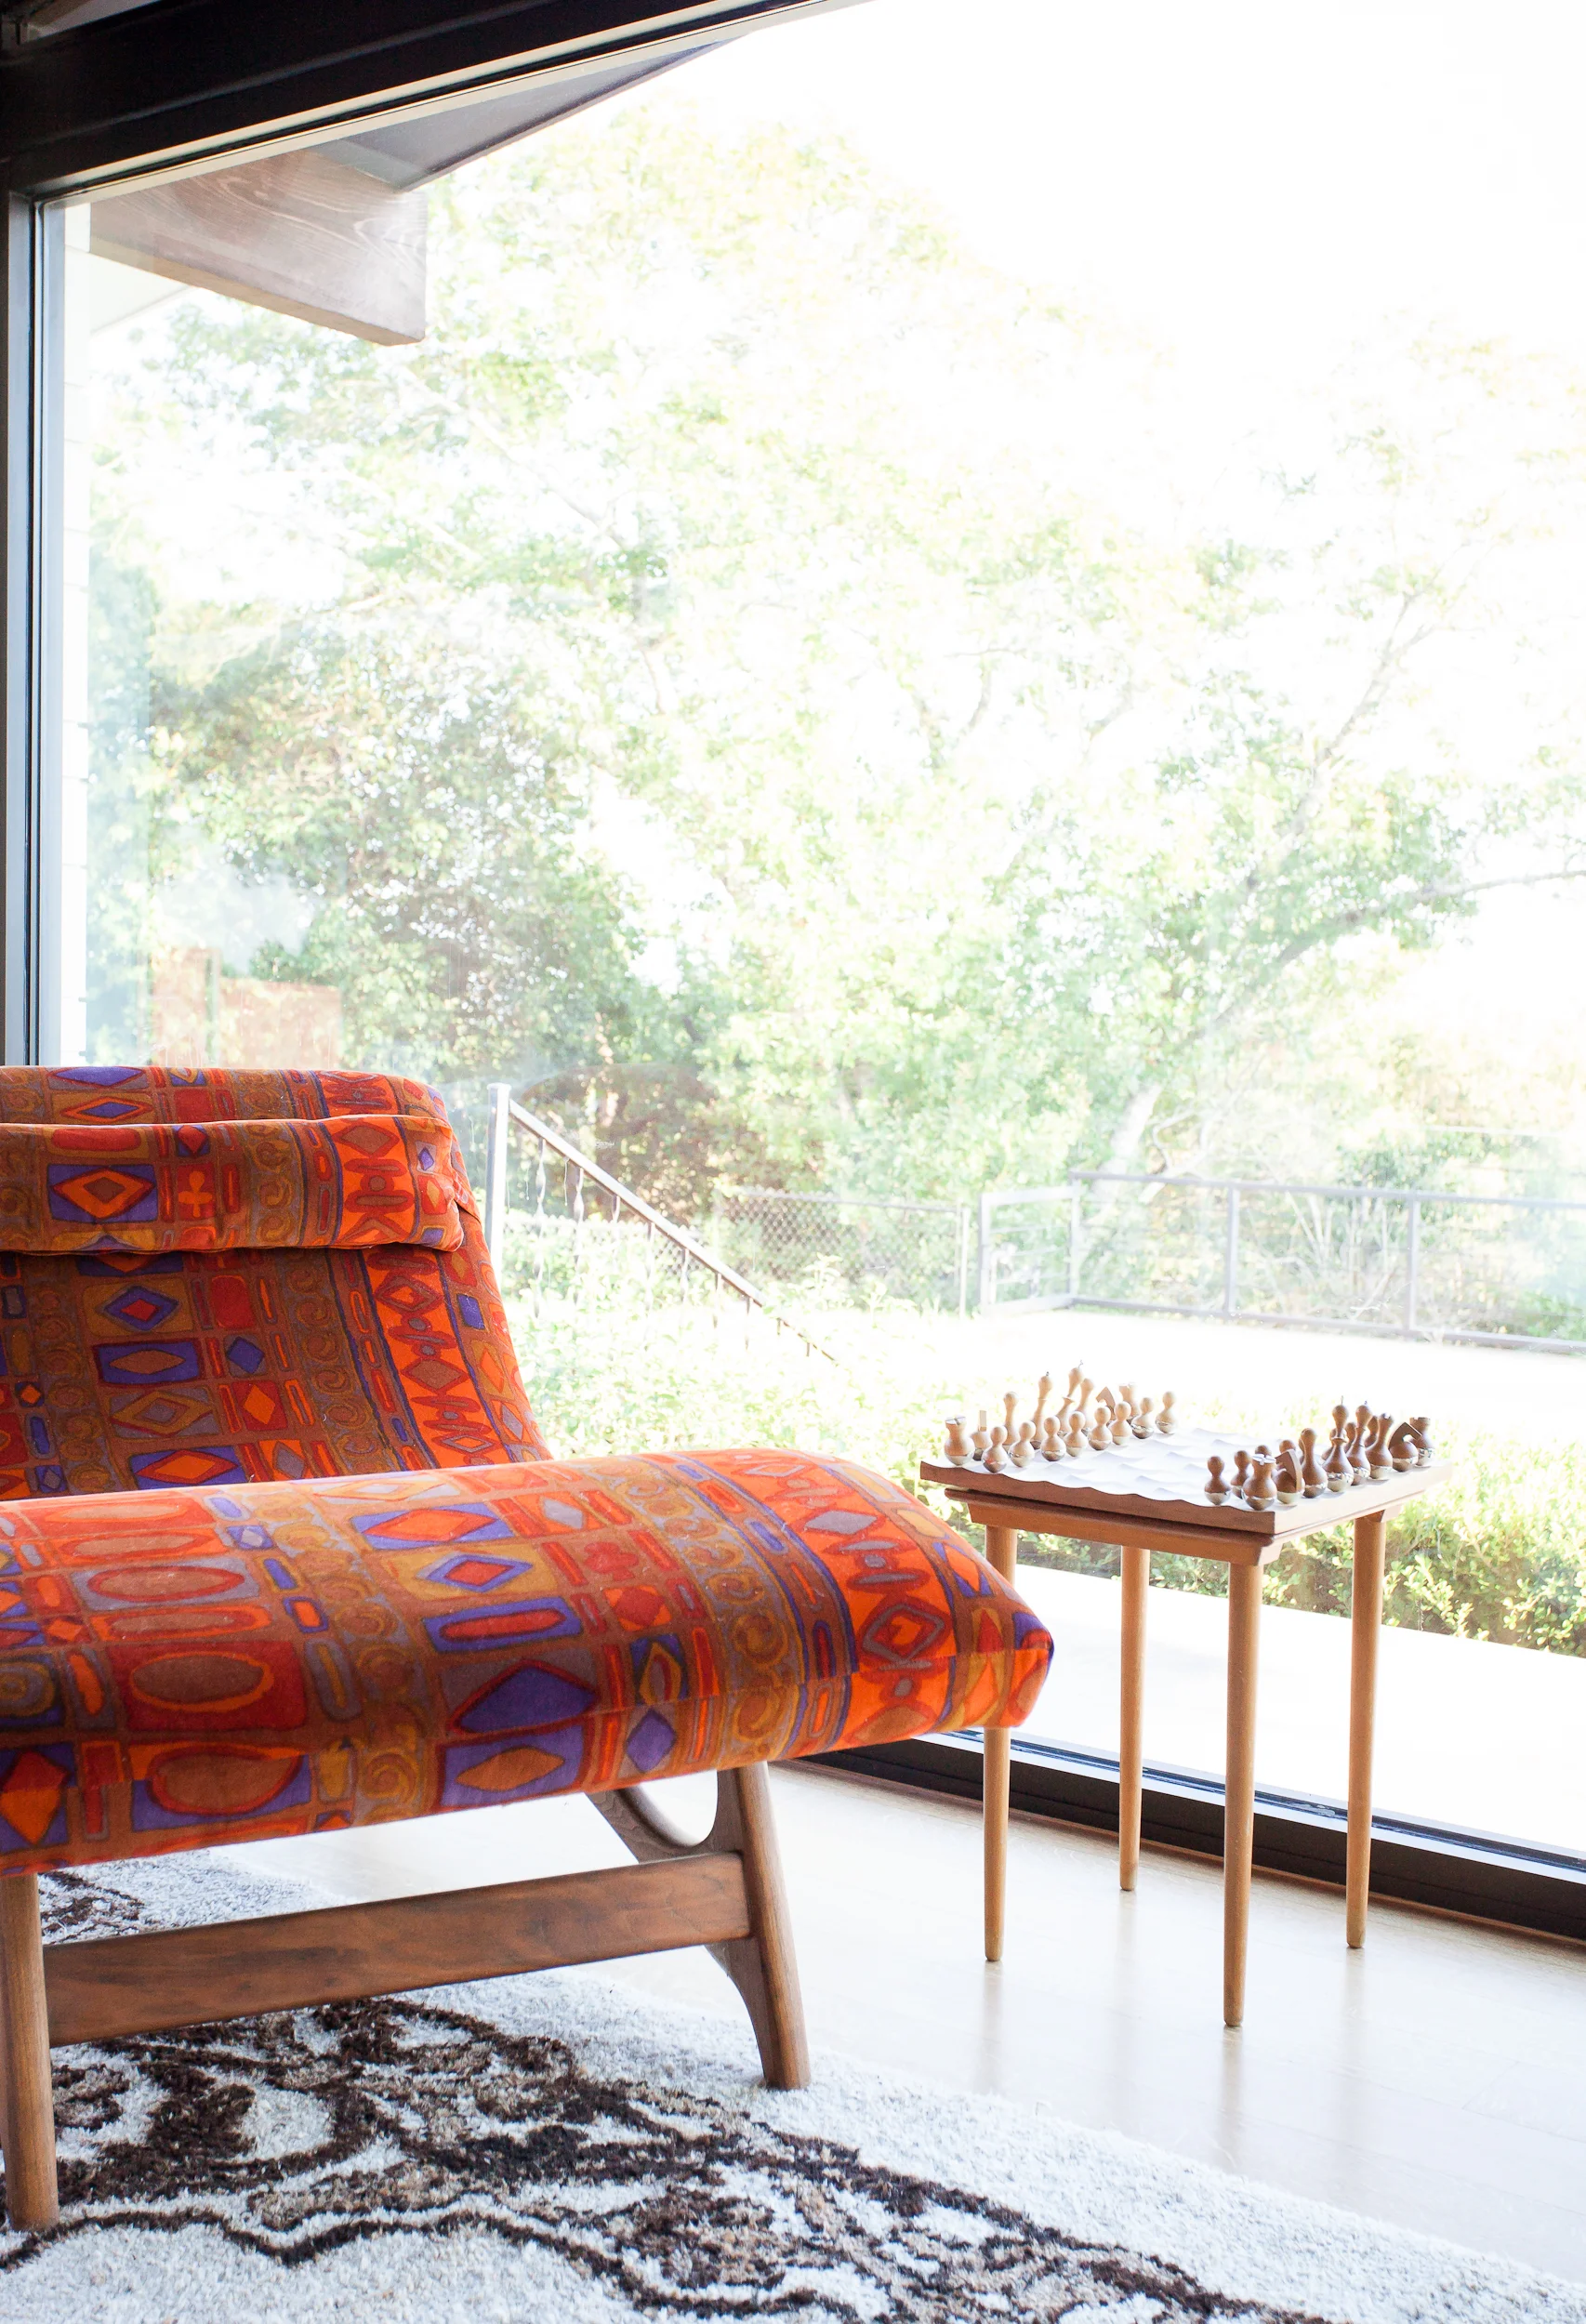
I don't shoot a lot of detail images, because frankly I think they are kind of boring and unlikely to be circulated -- for interior designers, anyway. So when I go in for a detail shot, I try to highlight something that might get lost in the bigger picture, like the pattern play between this upholstery fabric and rug.
And that, my friends, is it. We may not be solving all of the world's problems here, but it is important to show your hard work in the best light possible. Like, literally. So bust out your cameras and tripods and make that magic happen.
Please drop me a comment and let me know if this helps!
[All design work by Erin Williamson Design except image #8, all photographs by Erin Williamson ]